

Okay, so the other day I was looking at my dog, Buster, and his old harness was looking pretty ratty. Plus, I had this coil of decent rope just sitting in the garage. You know, the strong braided stuff. So, I thought, why not give it a go myself? Make him a custom rope one.
Getting Started – The Rope and the Dog
First thing, I grabbed that rope. Checked it over, made sure it wasn’t frayed or weak anywhere. Seemed pretty solid. Then came the fun part – measuring Buster. He’s not exactly patient when you’re trying to wrap a tape measure around him. Took a few tries, lots of wiggling from him, maybe a treat or two involved, but I got the basic numbers. Around his chest, just behind the front legs, and then sort of up his back where the leash usually clips.
Measurements are key, even if you’re just winging the design like I kinda was. I didn’t want it too tight, obviously, but definitely not loose enough for him to pull a Houdini.
Figuring Out the Shape and Making Cuts
I didn’t use a fancy pattern. I just pictured those simple harnesses you see. Sort of like a figure eight, or maybe more like an ‘H’ shape lying flat. I decided on the ‘H’ shape – seemed easier to knot together. One loop for the chest, another around the body, connected by pieces over the shoulder and under the belly.
So, I started cutting the rope. Laid it out on the floor. Cut the piece for the chest loop, the body loop, and the connector pieces. Always cut them a bit longer than you think you need – knots eat up rope like crazy. Used my sharp utility knife for clean cuts. Then, I took a lighter and melted the ends of the rope just a little. Stops them from unraveling into a mess later. You gotta be quick and careful doing that, don’t want to set anything on fire!
Putting It All Together with Knots
This was the main job. Making the loops. I used some strong knots I know – mostly just sturdy overhand knots pulled really, really tight, sometimes doubling them up. Made the chest loop first. Then the body loop. Had to guess a bit on the sizes, keeping those measurements in mind.
Then, I laid the loops out and used the shorter pieces to connect them, forming that ‘H’ shape. More knots. Lots of pulling and checking to make sure they wouldn’t slip. I also needed a place to clip the leash. Found an old metal D-ring in my toolbox. Looked strong enough. I worked that into the knots on the back piece, right between Buster’s shoulder blades. Secured that sucker really well with extra knots.
The Fitting Room Test
Alright, time to see if this thing actually fit. Called Buster over. Getting it on him the first time was a bit fiddly. Had to guide his legs through the loops. Once it was on, I checked everything.
- Was it too tight anywhere?
- Could he move his legs freely?
- Did it sit okay on his back?
- Could he slip out if he pulled backwards?
It needed adjusting. Of course it did. The chest loop was a bit loose. So, I had to carefully untie some knots, tighten things up, and retie them. Took a couple of attempts to get it feeling snug but comfortable. He stood there looking at me like, “Are you done yet?”
Walking Test and Final Thoughts
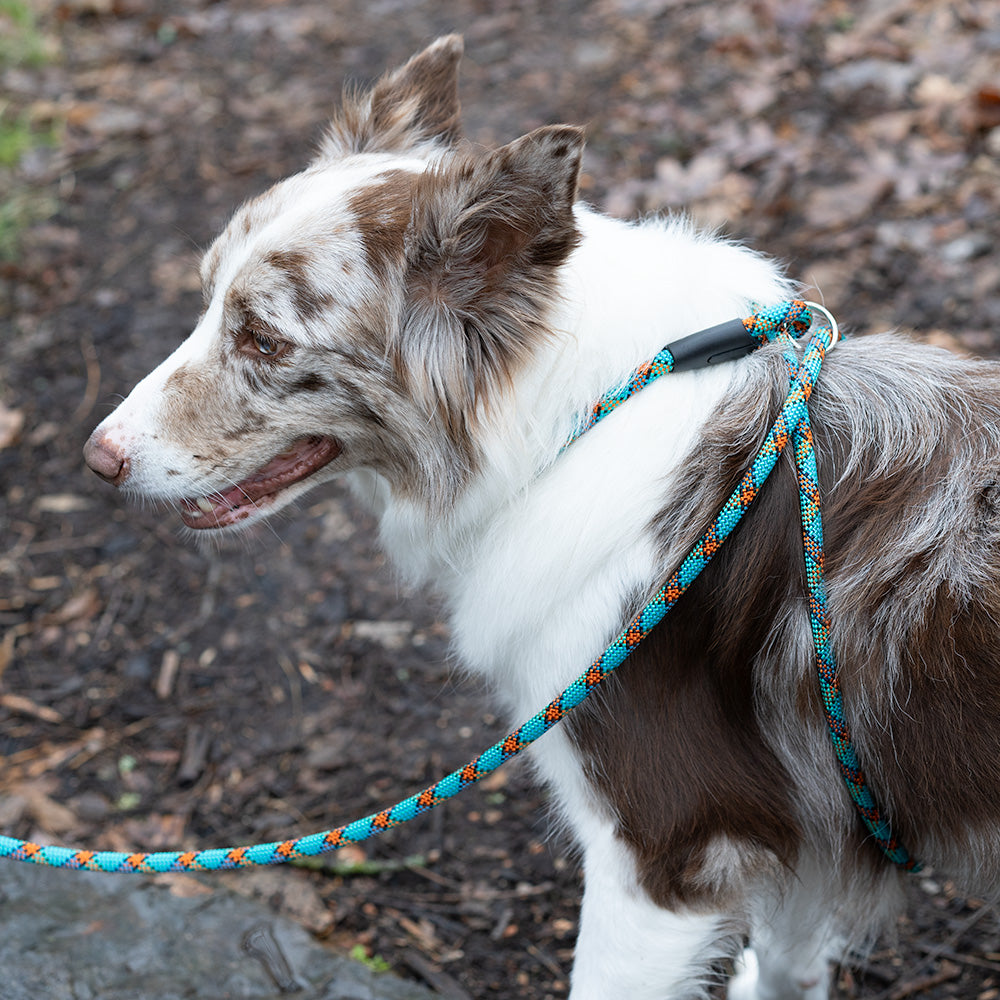
Okay, looked decent. Time for the real test. Clipped his leash onto the D-ring I added. Felt secure. We just went around the yard first. Walked him back and forth. Watched how the harness moved, if the knots were holding tight, if any parts were rubbing him the wrong way. He seemed fine, trotting along normally.
It actually worked pretty well! The knots held strong, and it didn’t seem to bother him. Looked kinda rugged and cool too, if I do say so myself. It’s not perfect, maybe could use some padding somewhere if we went on a super long hike, but for our everyday walks? Spot on. Saved me buying a new one, and I made it myself, which feels good. Plus, I used up that rope! Job done.


