Okay, so I needed a cover for the big dog kennel we have out back. Max, our German Shepherd, loves his kennel, but sometimes the sun’s too strong, or the wind whips through there something fierce. Plus, I figured a bit more privacy might help him settle down sometimes. Looked online, and man, those pre-made ones were pricey. Figured I could probably knock one together myself.
Getting Started – Measuring and Planning
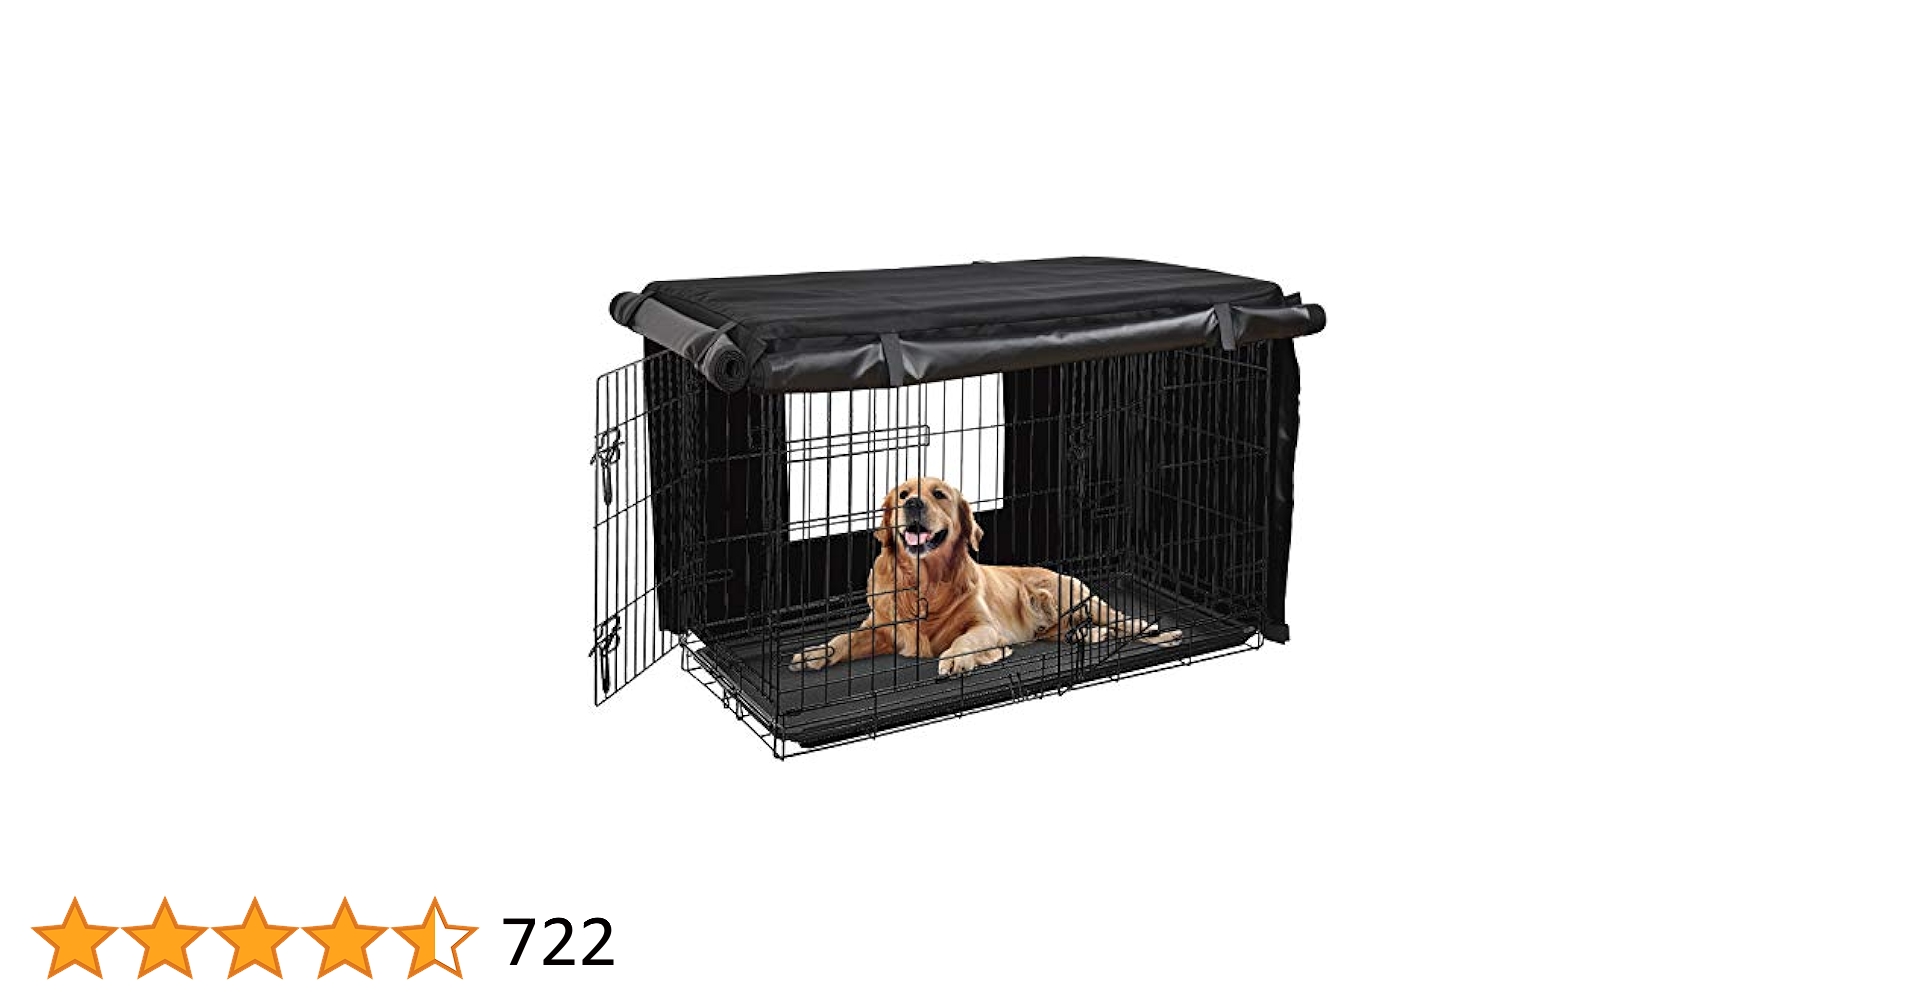
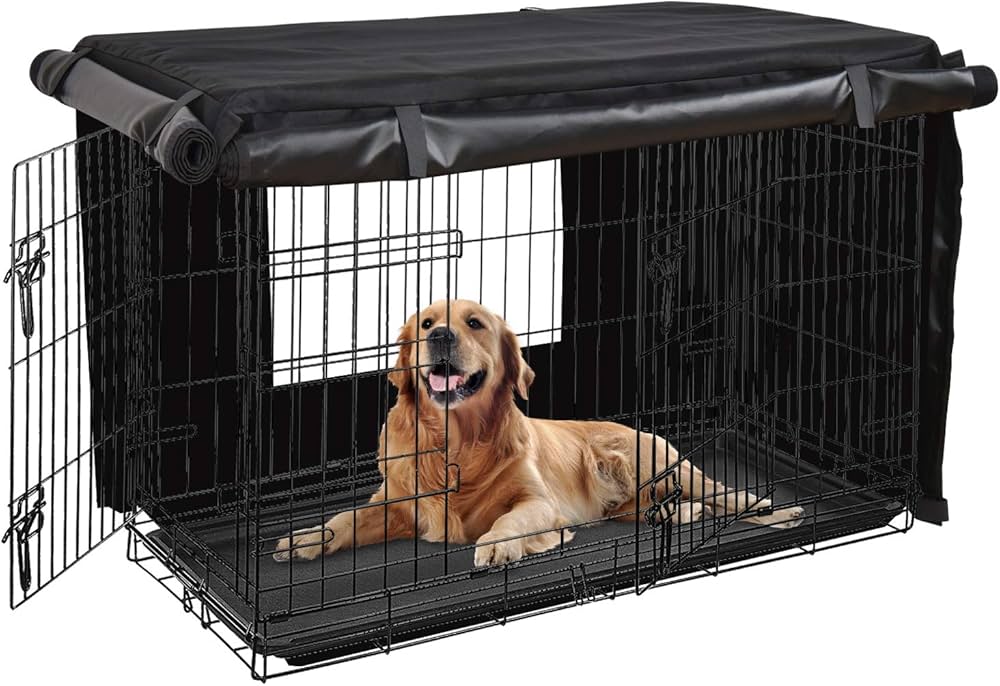
First thing was getting the measurements. Grabbed my trusty tape measure and went out to the kennel. Had to measure the length, width, and height. Wrote those numbers down. Remembered I needed extra fabric for seams and maybe a little overhang, especially for the front flap I wanted to add. I sketched out a rough plan on a notepad – basically five panels: top, back, two sides, and a front piece that could roll up.
Picking the Material
Next stop was the fabric store. I needed something tough, water-resistant ideally, but definitely something that could block the sun and wind. Spent a while looking through bolts of outdoor fabric. Lots of choices. Found some heavy-duty canvas that looked pretty solid. It wasn’t exactly waterproof like a tarp, but it felt durable and was treated to resist water a bit. Picked a neutral color, sort of a tan, so it wouldn’t look too out of place in the yard. Bought way more than I thought I needed, just in case I messed up cutting – which happens.
Cutting and Sewing Time
Back home, I cleared a big space on the living room floor. Rolling out that big piece of canvas was a job in itself. Used my measurements and the sketch, marked out the panels with chalk. Added about an inch all around each piece for the seams. Double-checked everything before cutting. Cutting thick canvas isn’t super easy; used my sharpest scissors and took my time.
Then came the sewing. Dragged out the old sewing machine. It’s not fancy, but it’s sturdy. Used heavy-duty thread. Started by hemming the bottom edges of the side and back panels – just folded the edge over twice and stitched it down. Then I pinned the side panels to the top panel, right sides facing each other. Sewed those seams. Did the same for the back panel, attaching it to the top and the sides. This basically formed a big box shape, open at the front and bottom.
Challenges Encountered:
- Getting the corners square was tricky with the thick fabric. Had to pin carefully.
- My sewing machine struggled a bit on the really thick parts where multiple layers overlapped. Had to go slow.
For the front panel, I hemmed the top and bottom edges. Then I attached some simple ties along the top edge of the front panel and corresponding points inside the top panel of the main cover. This way, I could tie it up to keep the front open. Also added a couple of ties on the sides to secure it when rolled down.
The Final Fit
Once all the sewing was done, took it outside. Getting it onto the kennel was a bit like wrestling a giant cloth monster. Had to stretch it over the top and pull it down the sides. It was a snug fit, which was good. Adjusted it a bit here and there. Tied the front panel down to see how it looked. Rolled it up and tied it open. Seemed to work just like I planned.
Max gave it a good sniff when he went in later. Seemed okay with it. It definitely cuts down the wind and provides good shade. Looks pretty decent too, better than a blue tarp anyway. Overall, a successful weekend project. Saved some money and got exactly what I wanted.