

Getting My Hands Dirty with Labrador T-Shirts
So, I got this idea buzzing around in my head a while back. I really love Labrador Retrievers, you know? Great dogs. Loyal, fun, always up for anything. But finding cool t-shirts that really captured that Lab spirit? Tougher than you’d think. A lot of stuff out there felt kinda generic.
I figured, why not try making my own? I like tinkering and doing stuff myself anyway. It started as just something for me, maybe a couple for friends who also have Labs.
First Steps: Gathering the Goods
First thing was getting the basic stuff together. Nothing too fancy. Here’s what I rounded up:
- Plain T-shirts: Found some decent quality cotton ones online. Went for a few colors – black, grey, and a nice blue.
- Design Idea: Had a rough sketch in my notebook. Labs are so active, always needing to run and play, right? I wanted something that showed that energy, maybe even their love for water. Not just a static picture.
- Transfer Paper: Decided to go with iron-on transfers for the first batch. Seemed like the easiest way to start without buying a load of screen-printing gear.
- My trusty computer and printer: Needed these to finalize the design and print it onto the special paper.
- An iron and ironing board: Obviously.
Figuring Out the Design
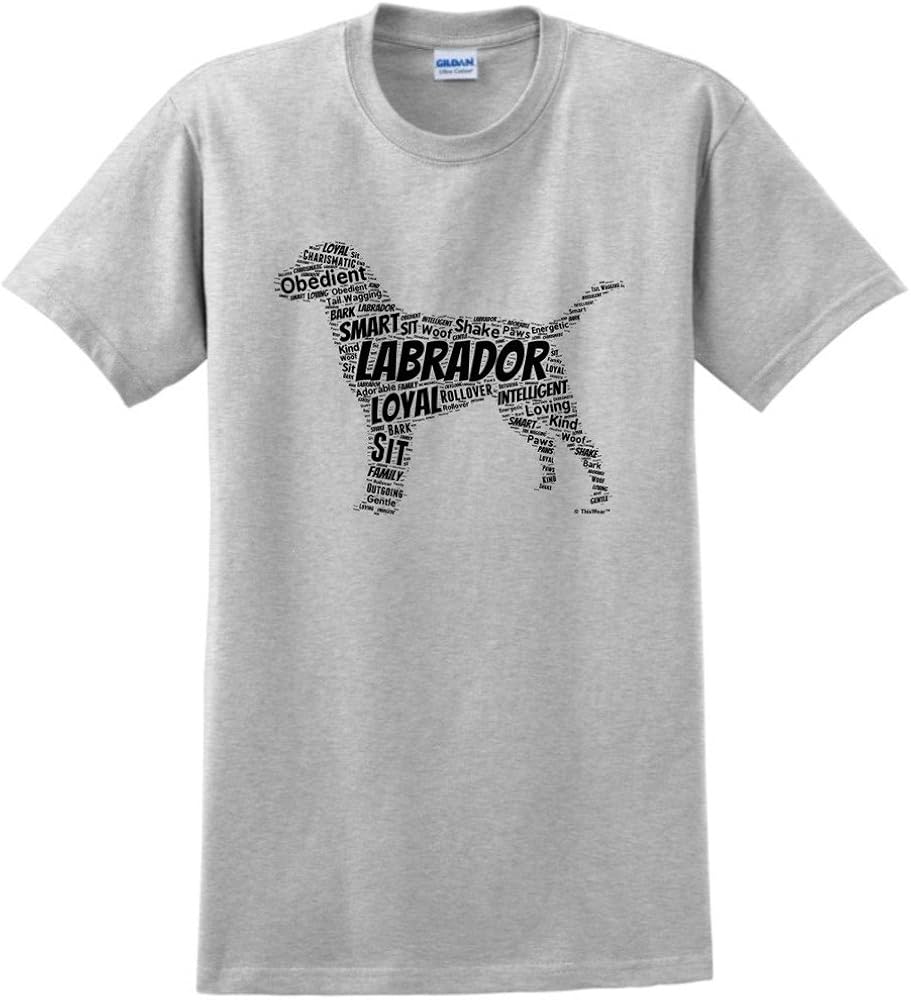
This part took a bit of fiddling. I’m no graphic designer, mind you. I scanned my rough drawing, then played around with it using some super basic software I already had. Tried a few poses. One looked like a Lab mid-run, ears flapping. Another was one splashing in water – you know how Labs just can’t resist a puddle or a lake! I settled on a simpler silhouette design first, one that looked like it was eagerly waiting for a ball toss. Kept it clean, just the outline mostly. I thought that might look a bit classier than a full detailed picture, and probably easier to transfer cleanly too.
Making the Actual Shirts
Okay, printing time. Got the design printed onto the iron-on transfer paper. Remember to mirror the image before printing if your paper requires it – almost forgot that crucial step! Learned that the hard way on a test piece of fabric, thankfully not a whole shirt.
Cutting out the design needed a steady hand. Didn’t want ragged edges. Then came the ironing. The instructions on the transfer paper packet were pretty clear, but getting the heat and pressure right took a bit of practice. You gotta press down hard and keep the iron moving, but not too fast. My first attempt on an actual shirt… well, one corner didn’t quite stick. Peeled it back carefully, hit it with the iron again, harder this time. That seemed to do the trick.
I made three shirts initially: the black, the grey, and the blue one. Each with the same eager Lab silhouette. It felt pretty good seeing them actually done, hanging up to cool.
How They Turned Out
Honestly? I was pretty pleased! They weren’t professional factory quality, sure. You could tell they were handmade, but in a good way, I think. They had character. The silhouette looked sharp against the fabric. Wore the grey one out the next day and actually got a compliment from another Lab owner at the park.
It was a fun little project. Took an afternoon, basically. Learned a bit about iron-on transfers – they need patience! Might try screen printing next time for a different feel, but for a first go, these Labrador tees came out alright. Definitely better than most of the generic ones I’d seen before.


