

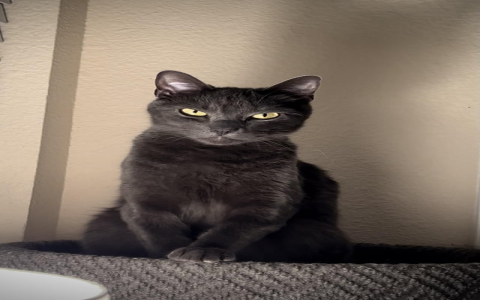
Alright, so I wanted to make a Russian Blue cat stuffed animal. I’m not really good at sewing, but I thought, why not give it a try? I have always loved those fluffy guys, so I picked one of them as my model.
Looking for References
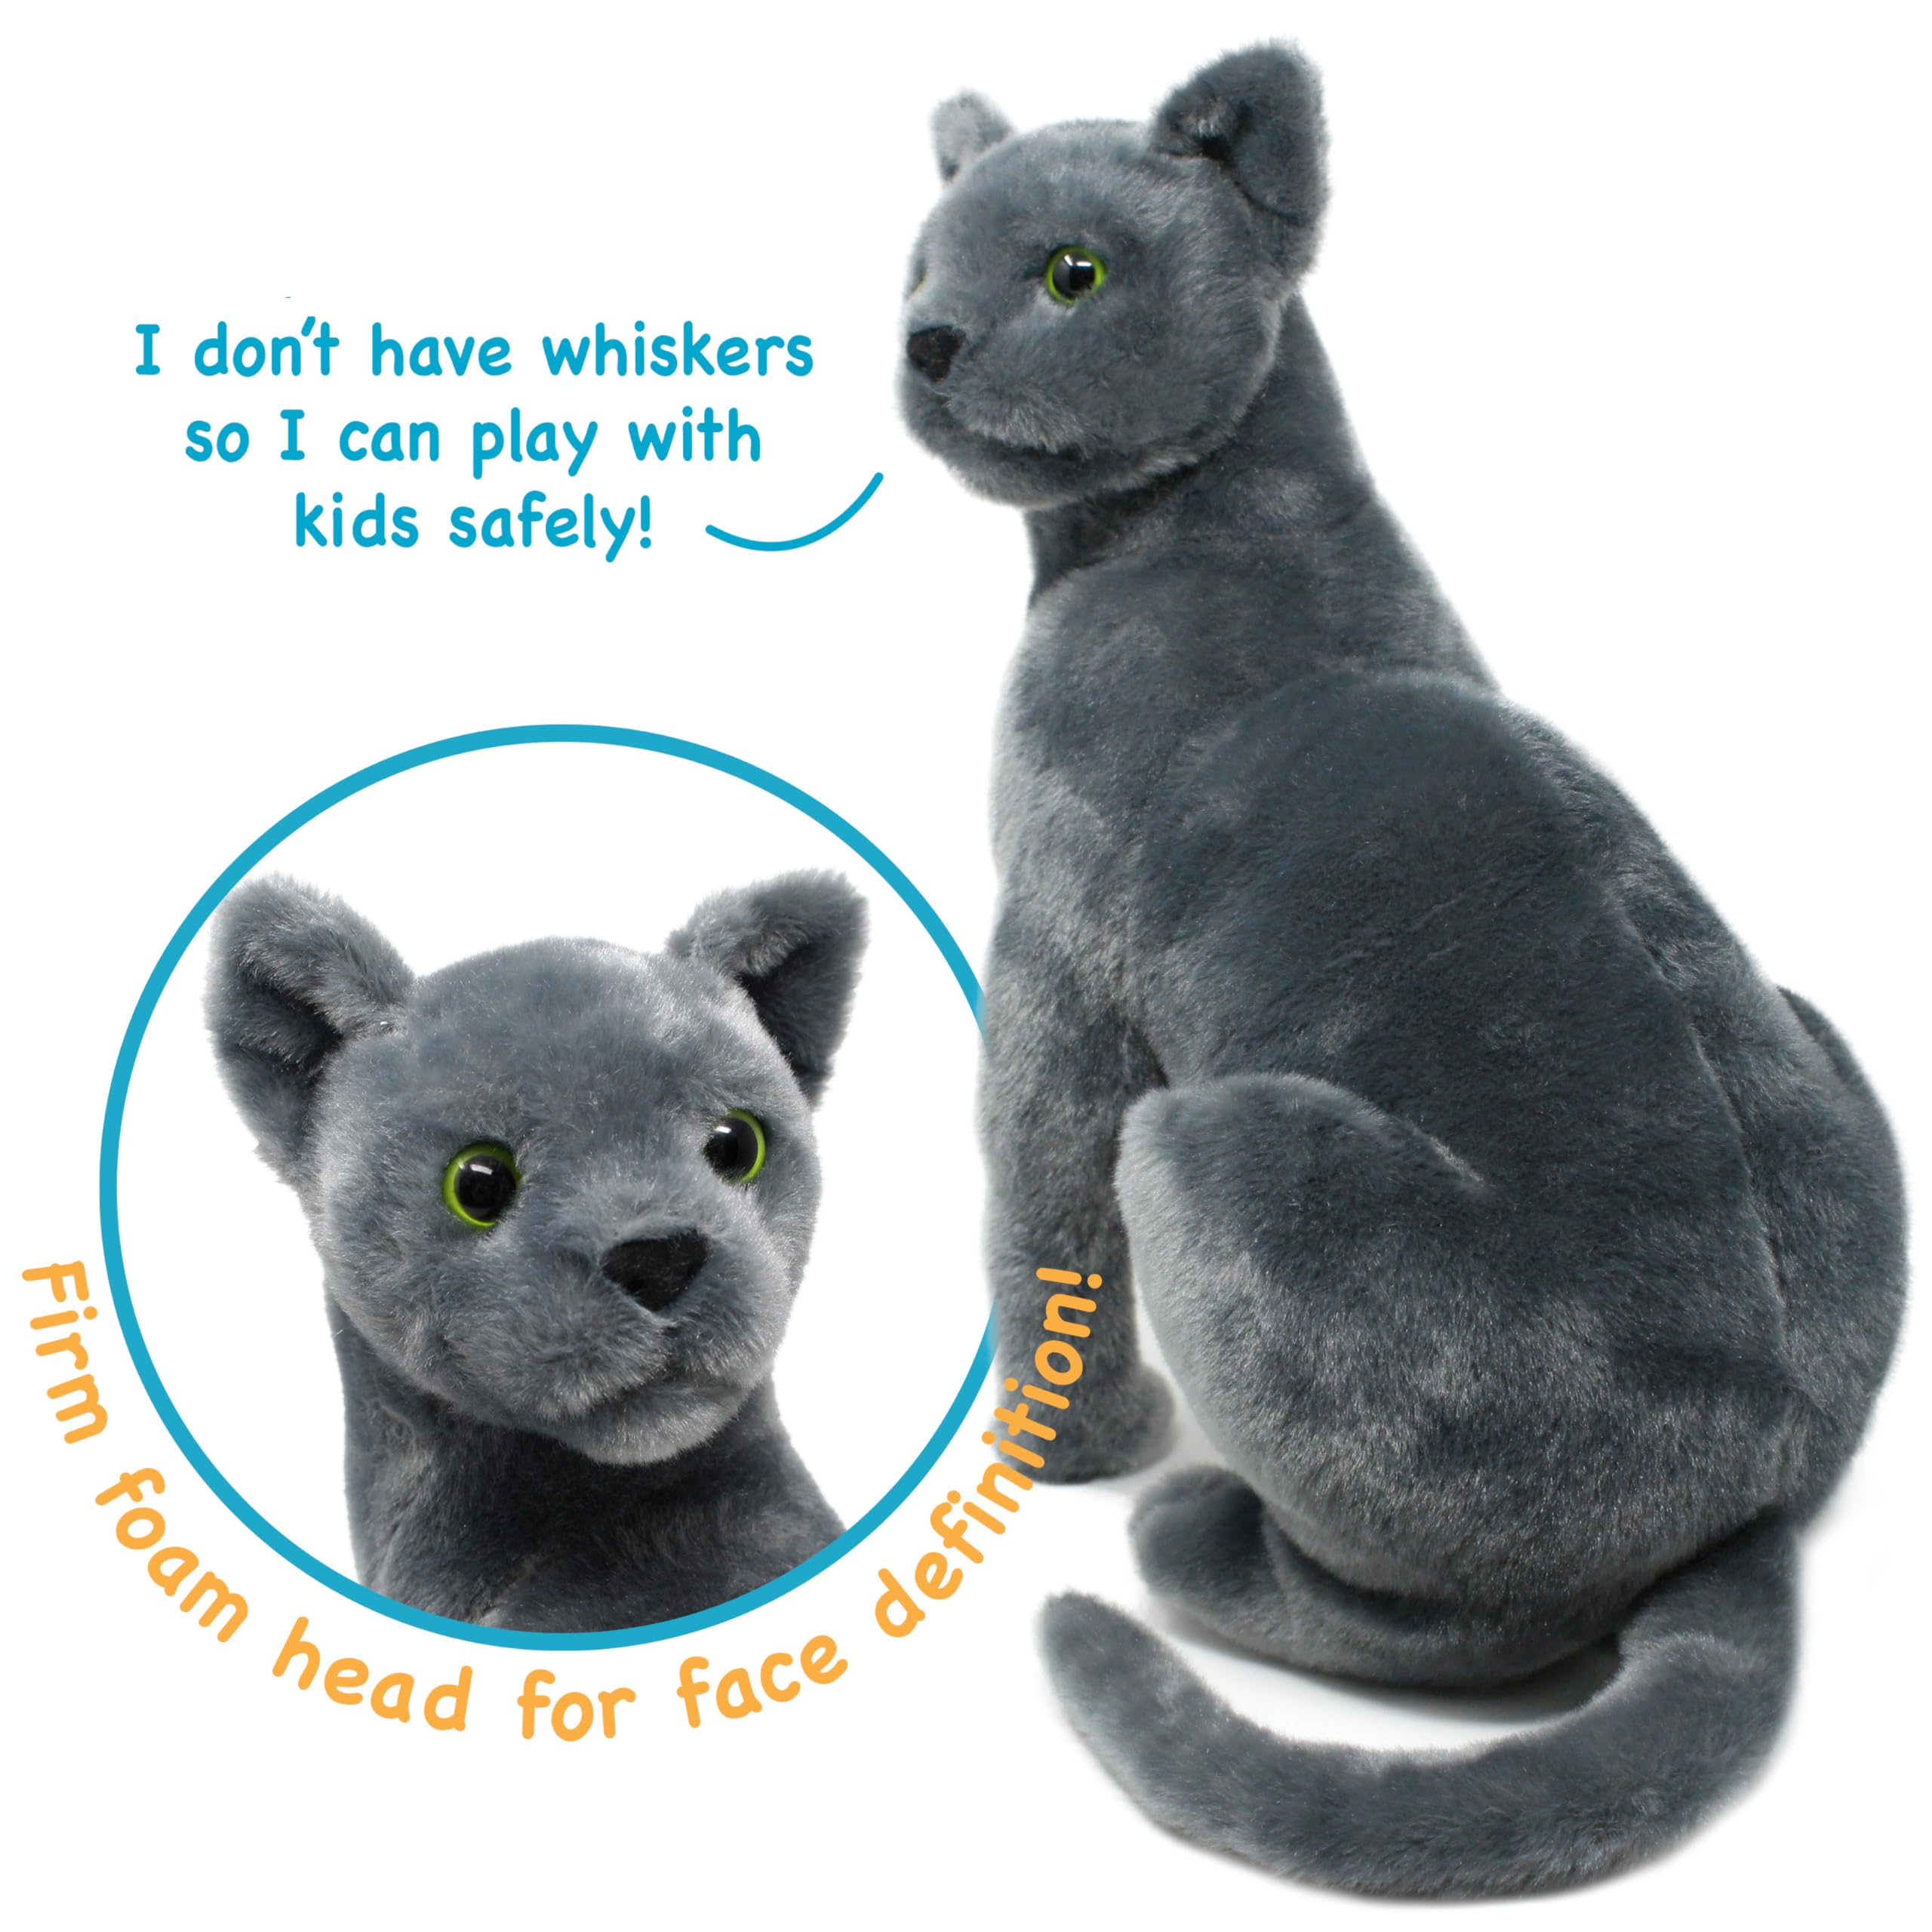
First things first, I started searching online for some ideas. I browsed some websites to see what they have. I saw a cute one named “Rae The Russian Blue Cat” on some online shop. It’s like 12 or 14 inches, which is a good size. I also found some other custom-made ones on those handmade craft sites, you know the ones. I felt these were a good start, so I saved some pictures for reference.
Gathering Materials
Next, I needed to gather the materials. I went through my fabric scraps and found some soft, grey velvet. I figured it would be perfect for that sleek Russian Blue look. Here’s a rough list of what I got:
- Grey velvet fabric
- Stuffing material (I used some old pillow stuffing)
- Needle and thread
- Black buttons for eyes
- Pink felt for the inner ears and nose
- Scissors
- Some chalk for marking the fabric
Making the Pattern
I’m no expert at patterns, so I just sketched a simple cat shape on some paper. I made sure to draw a separate head, body, limbs, and tail. I kept looking at the pictures I saved to make sure it looked somewhat like a Russian Blue. I heard somewhere that these cats have a distinctive wedge-shaped head, so I tried to get that right.
Cutting and Sewing
I used the chalk to trace the pattern pieces onto the velvet. I cut two of each shape, making sure to leave some extra room for the seams. Then the hard part began – sewing. I started with the head, sewing the two pieces together but leaving a small opening to turn it inside out and stuff it. I did the same for the body, tail, and limbs. It was a bit tricky, but I managed to sew them without too many mishaps. I then used those black buttons as eyes, and it started to look like a cat.
Stuffing and Assembling
After turning all the pieces right side out, I started stuffing them. I made sure to stuff the head firmly, especially the cheeks, to give it that Russian Blue look. Then I stuffed the body and limbs, making them soft and cuddly. Once everything was stuffed, I sewed the head onto the body. Then I attached the limbs and tail. It took some time, but I finally had a complete cat!
Adding Details
Finally, I added some small details. I cut small triangles of pink felt and sewed them inside the ears. I also used a small piece of pink felt for the nose. These little touches really made it look more like a real Russian Blue cat.
The Result
It wasn’t perfect, but I was pretty happy with how it turned out. It’s a cute, cuddly Russian Blue cat stuffed animal. It’s not as polished as the ones you can buy online, but it has its own charm. I think I’ll keep it on my shelf as a reminder that I can make something cool with my own hands. Plus, it’s a nice little memory of all those cute Russian Blue cats out there.
I’m thinking about trying to make another one sometime, maybe with different fabric. It was a fun little project, and I learned a lot. Maybe next time I’ll try to make it even better.

If you are thinking of doing something like this, just be patient and prepare to fix your mistakes! Good luck!


