

Okay, so I’ve been messing around with pet feeding bottles lately, and let me tell you, it’s been a bit of a journey. I wanted to share what I’ve learned so far, just in case anyone else is thinking of going down this road.
Getting Started
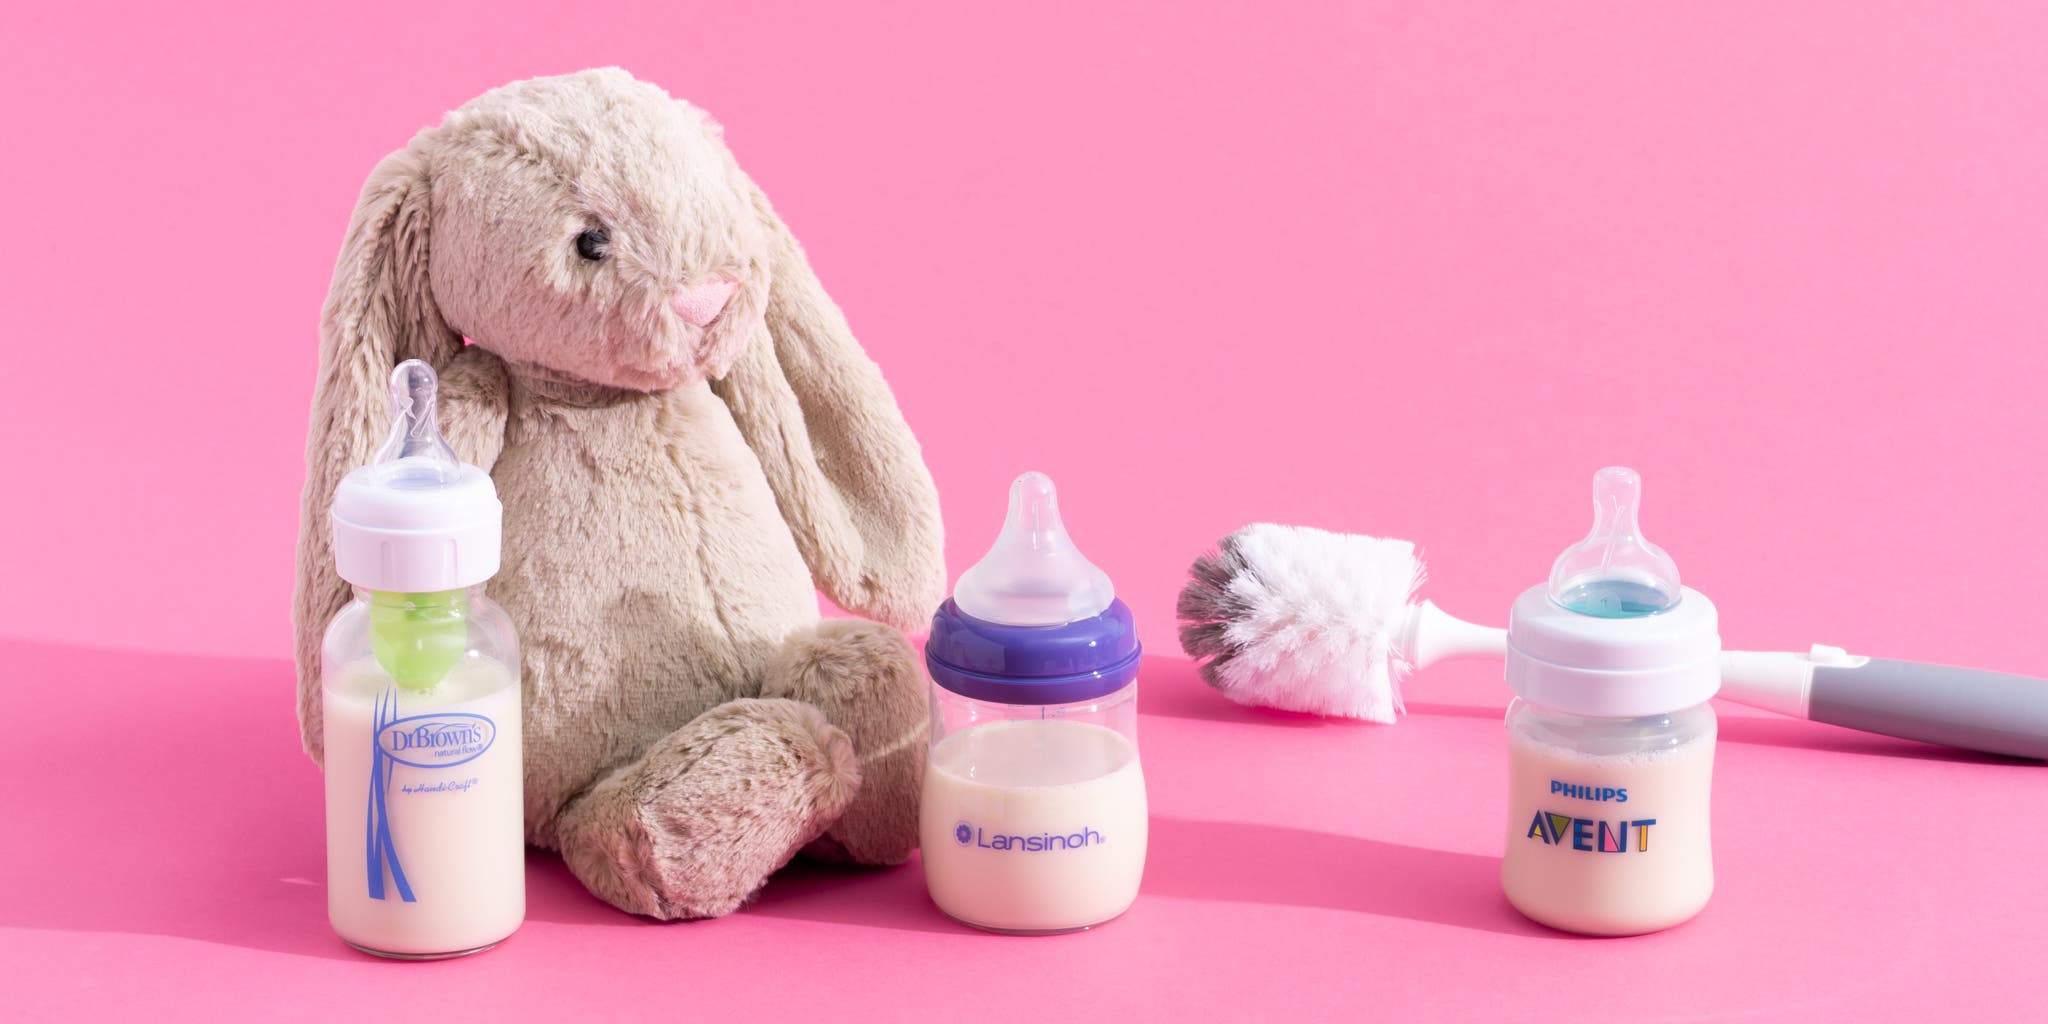
First things first, I grabbed a couple of different pet feeding bottles. I figured I’d try a few styles to see what worked best. I got a basic one with just a nipple, and then another one that had a little measuring scale on the side. I also made sure to get some pet-specific formula, because you can’t just use regular milk!
The Experiment
I started by warming up the formula. The instructions said body temperature, so I tested it on my wrist like you would with a baby bottle. It felt about right. Then, I filled up the first bottle, the basic one, and tried to get my little furry friend to latch on.
It was… messy. He wasn’t quite getting it, and milk replacer ended up everywhere. It was kind of cute, but also a little frustrating.
Next, I switched to the bottle with the measuring scale. This was a bit easier to control. I could see exactly how much he was getting, and I think the nipple shape on this one was a better fit for his tiny mouth.
Cleaning Up My Mess
- Washing the bottles right away is key! That formula can get sticky and gross if you let it sit.
- I used hot, soapy water and a bottle brush to really scrub them out.
- I also boiled them for a few minutes to make sure they were completely sterilized. Gotta keep things clean for the little guy!
What I Learned
It is found that you can’t use regular milk and I recommend using hot, soapy water and a bottle brush to really scrub them out. I’d boiled them for a few minutes to make sure they were completely sterilized.
It definitely takes some practice! Don’t get discouraged if it’s messy at first. Just keep trying, and eventually, you’ll both get the hang of it. And don’t be afraid to experiment with different bottles to find the one that works best for your pet.


