

Okay, here’s my blog post about making a rope leash for large dogs:
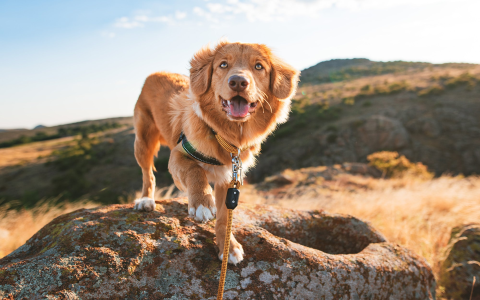
So, I’ve got this big ol’ Bernese Mountain Dog, Max. He’s a sweetheart, but he’s also a hundred pounds of pure muscle and enthusiasm. Regular leashes? Yeah, they don’t last long. I’ve gone through, like, five in the past year. They either snap, the clips break, or the handles just shred. I was fed up with buying new leashes, and get a strong one cost a lot.
Then my friend show me a thick rope, it gives me a good idea.
My DIY Heavy-Duty Dog Leash Project
I decided to take matters into my own hands, literally. I figured, “How hard could it be to make a super-strong leash myself?” Turns out, not that hard, but it did take a little trial and error.
First, I gathered my materials:
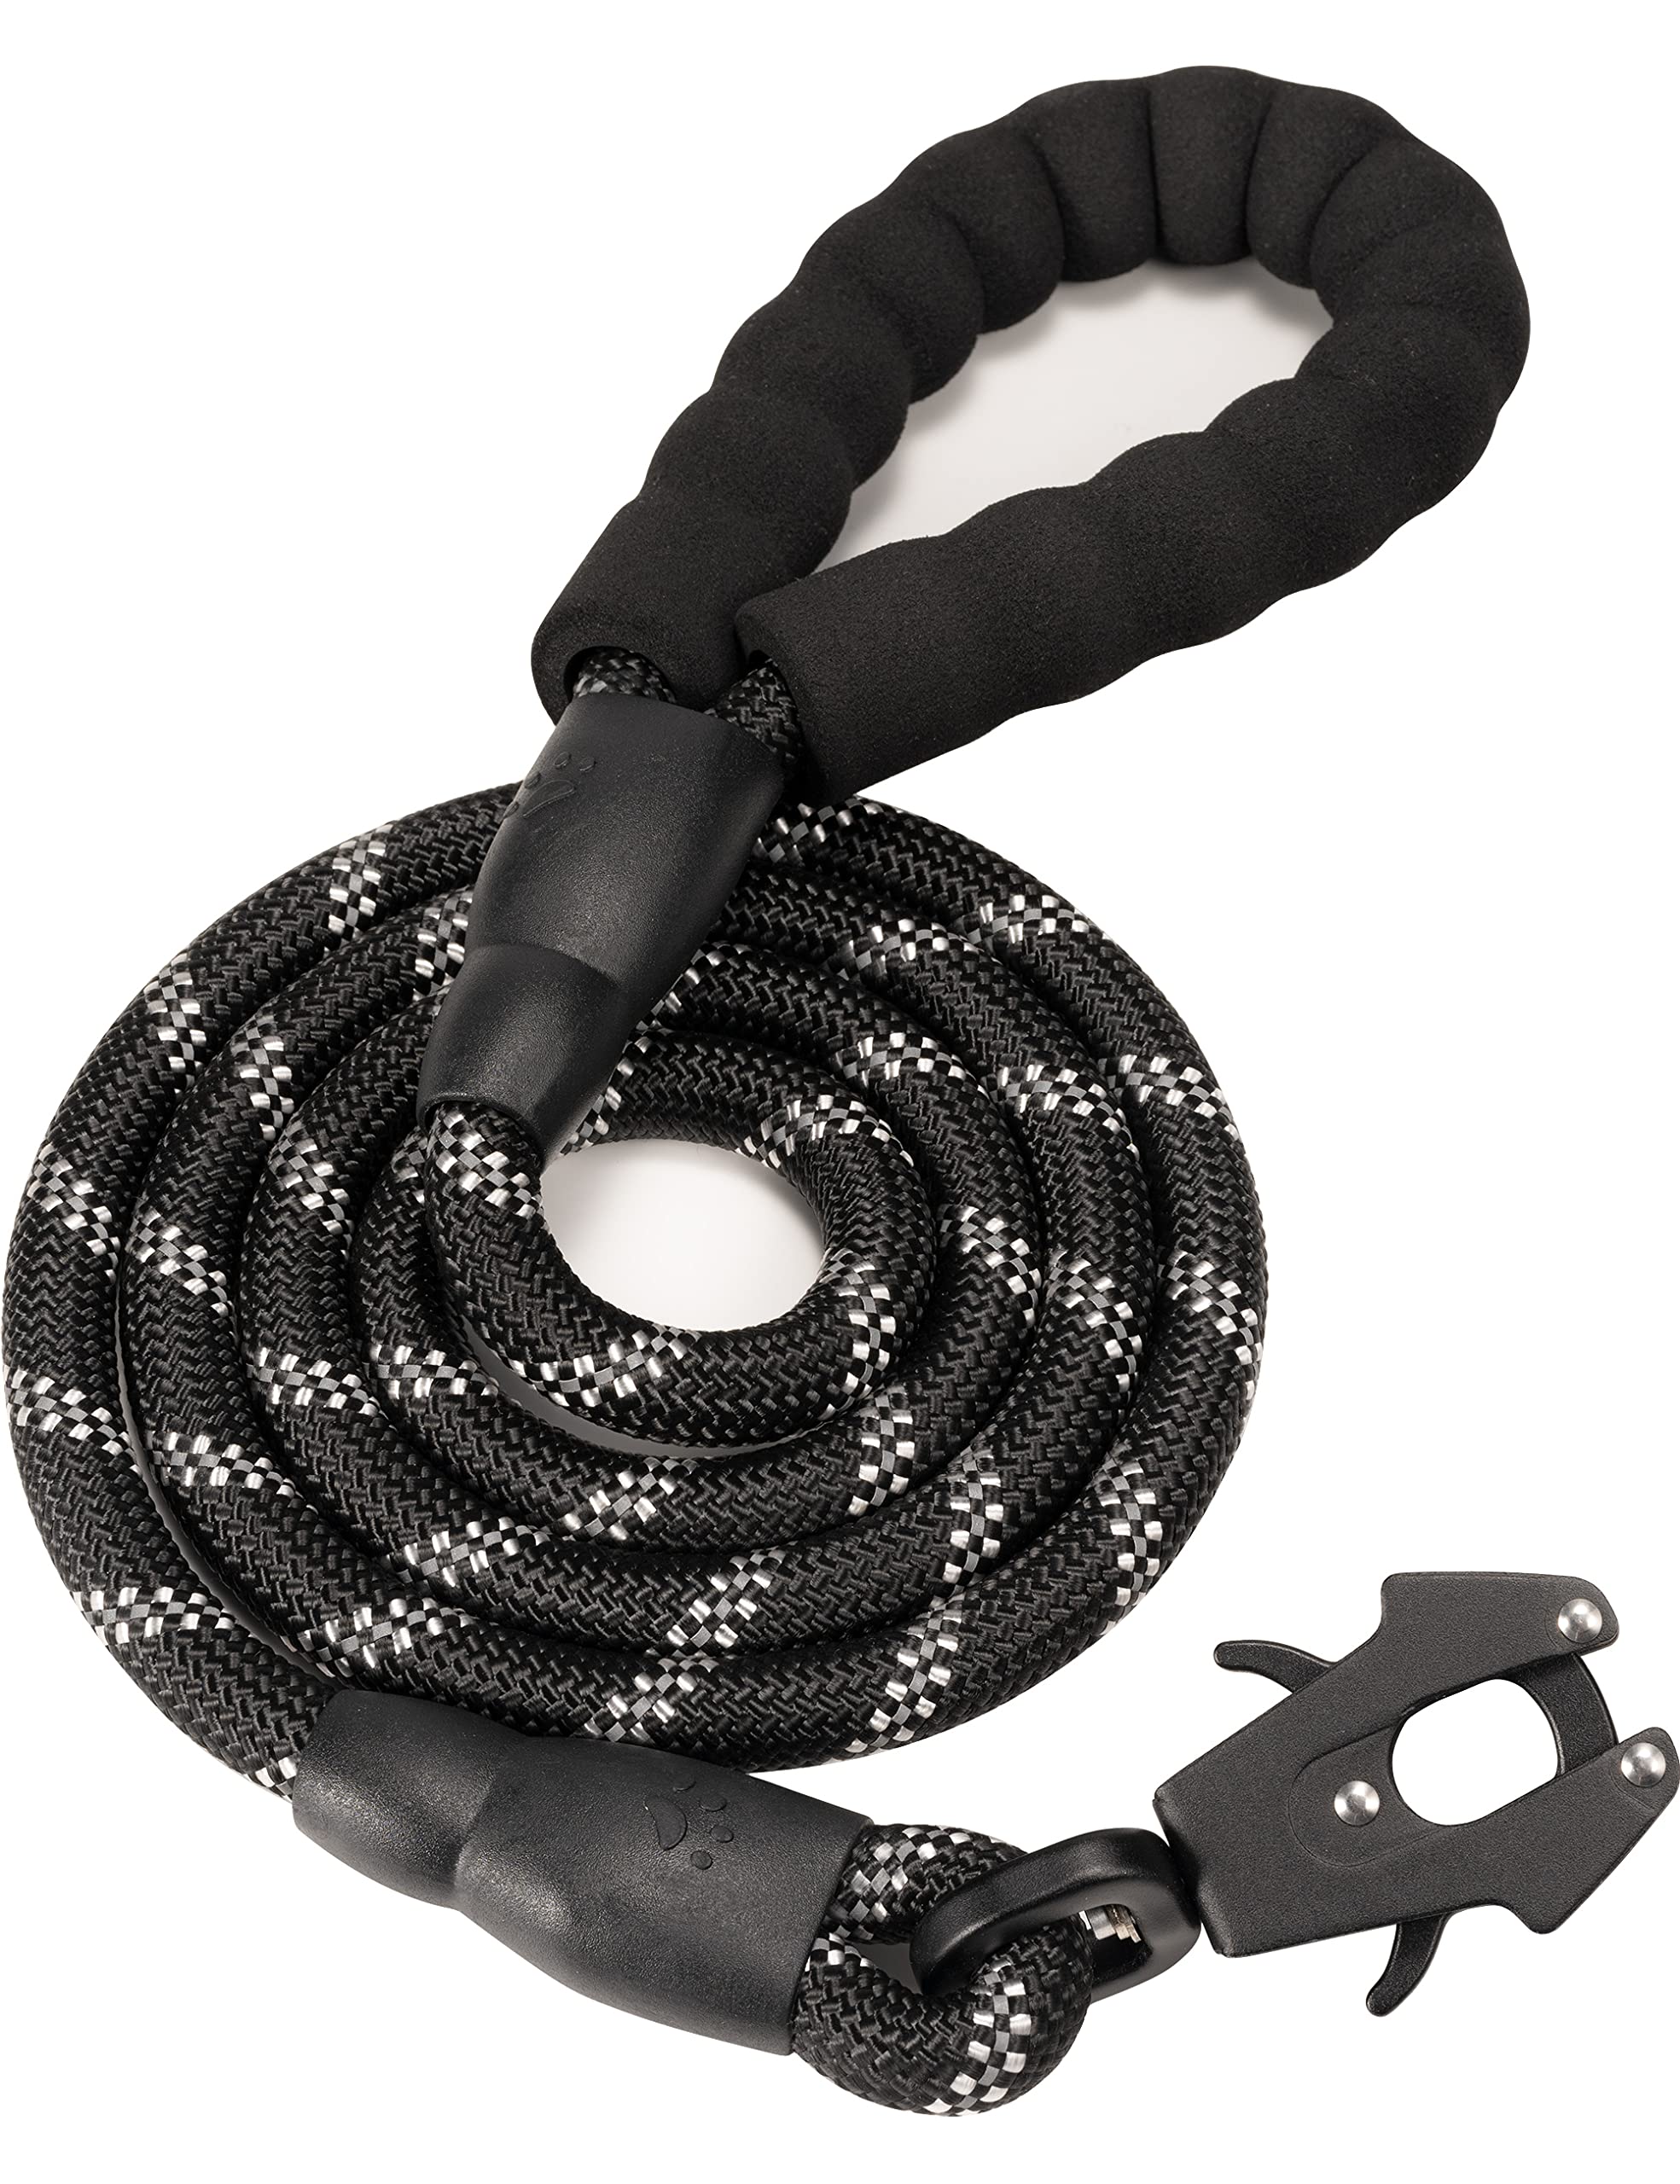
- Rope: I went to the hardware store and found some thick, braided nylon rope. I think it was rated for something ridiculous, like 500 pounds. I got about 10 feet of it, figuring I could always shorten it later. And I chose a bright color so i can find it if I drop it when I walk Max.
- Heavy-Duty Clip: Don’t skimp on this! I got a big, sturdy clip – the kind they use for, I don’t know, securing boats or something. It had a nice, strong spring mechanism.
- Lighter/Matches: To melt the ends of the rope to keep them from fraying.
- Strong Thread & Needle: (Optional, but recommended) For extra security.
Here’s how I put it all together:
- The Handle Loop: I took one end of the rope and made a loop big enough to comfortably fit my hand. I overlapped the rope by about 8-10 inches.
- Securing the Loop: This is where I messed up the first time. I initially just tried tying a knot. Nope. Max pulled, and it started to unravel. So, I ended up doing a sort of “whipping” technique. I wrapped the overlapping rope sections really tightly with the strong thread. I mean, really tight. I went back and forth several times, making sure it was super *, use the lighter melt the end and the thread.
- Melting the Ends: After I was happy with the thread wrapping, I carefully used the lighter to melt the ends of the rope together. This creates a nice, clean finish and prevents the rope from fraying. Be careful, though, that stuff gets hot!
- Attaching the Clip: I did the same thing on the other end of the rope, but this time I looped it through the clip before securing it. Same whipping technique, same melting of the ends.
The Final Result:
And that’s it! I’ve got a leash that can probably tow a small car. Max has tested it thoroughly, pulling with all his might, and it hasn’t even budged. I’m pretty proud of myself, and I saved a bunch of money. Plus, it looks pretty cool, in a rugged, homemade kind of way.
If you’ve got a big, strong dog and you’re tired of flimsy leashes, I totally recommend giving this a try. It’s easier than you think, and it’s so satisfying to make something yourself that actually works!


