

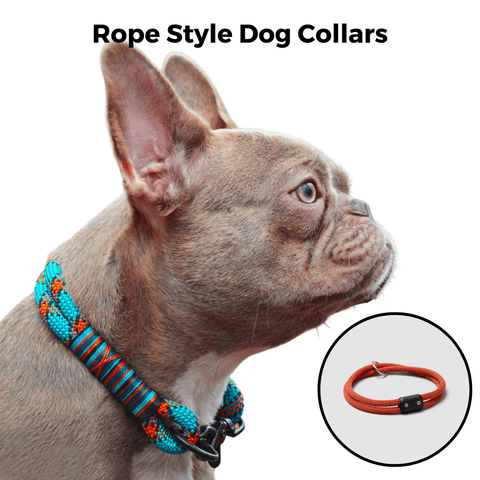
Okay, so I’ve been wanting to make a rope dog collar for a while now, you know, one of those cool, sturdy ones you see around. I finally got around to it, and let me tell you, it was easier than I thought!
Gathering My Stuff
First things first, I needed to gather my materials. I grabbed:
- Some strong, but soft rope – I went with that marine-grade stuff.
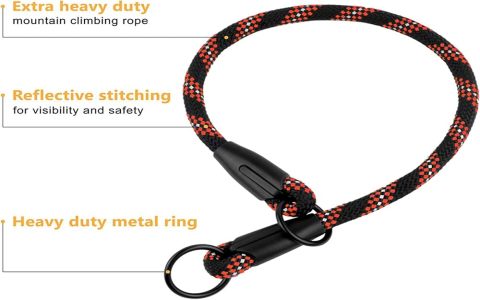
- A metal O-ring – gotta have something to clip the leash to.
- Scissors – sharp ones!
- A lighter – to melt the rope ends so they don’t fray. It is super important.
- A ruler – measuring is key, folks.
Getting Started
I measured my dog’s neck first. You want the collar to be snug but not too tight. I added a few extra inches to that measurement, just to be safe. Then, I cut the rope to that length.
Making the Knots
This is where the magic happens. I found the middle of the rope and folded it in half. Then, I slipped the O-ring onto the folded end. I did search about the knot and it said I should secure the ring, I tied a simple overhand knot, pulling it tight.
Next, I took the two loose ends of the rope and started braiding them. I mean the Cobra knot.
I made sure to keep the braid nice and even, so it looked good and felt comfortable for my pup. I braided it, tied another overhand knot at the other end to secure it, then trimmed off the excess rope, leaving a couple of inches.
Finishing Touches
Remember that lighter I mentioned? I carefully used it to melt the ends of the rope where I had cut it. This prevents the rope from fraying and makes the collar look much neater. Just be careful not to burn yourself or the rope too much – a quick pass with the flame is all it takes.
The Result
And there you have it! A DIY rope dog collar, made with my own two hands. My dog seems to love it, and I’m pretty proud of how it turned out. Plus, I saved some money by making it myself. Win-win! If you are going to make one for your dog, just do it!


