

So, I decided I wanted a Russian Blue cat plush. Don’t ask me why, really. One day the idea just popped into my head. Maybe it was all those cat videos, or maybe I just needed a new little project to keep my hands busy. You know how it is, sometimes you just get an itch to make something.
Getting Started – The Great Fabric Hunt
First things first, I needed the right fabric. And let me tell you, finding that perfect “Russian Blue” grey was a mission. I went to, like, three different craft stores. One place had a grey, but it was too dark, almost charcoal. Another had a silvery grey, but it was too shiny, looked like a disco cat. Not the vibe I was going for. I was about to give up and just order something online, which I hate doing for fabric ’cause you can’t feel it, you know? But then, tucked away in a corner of the last store, I found it. A nice, soft, minky-ish fabric, just the right shade of dusty grey. Success!
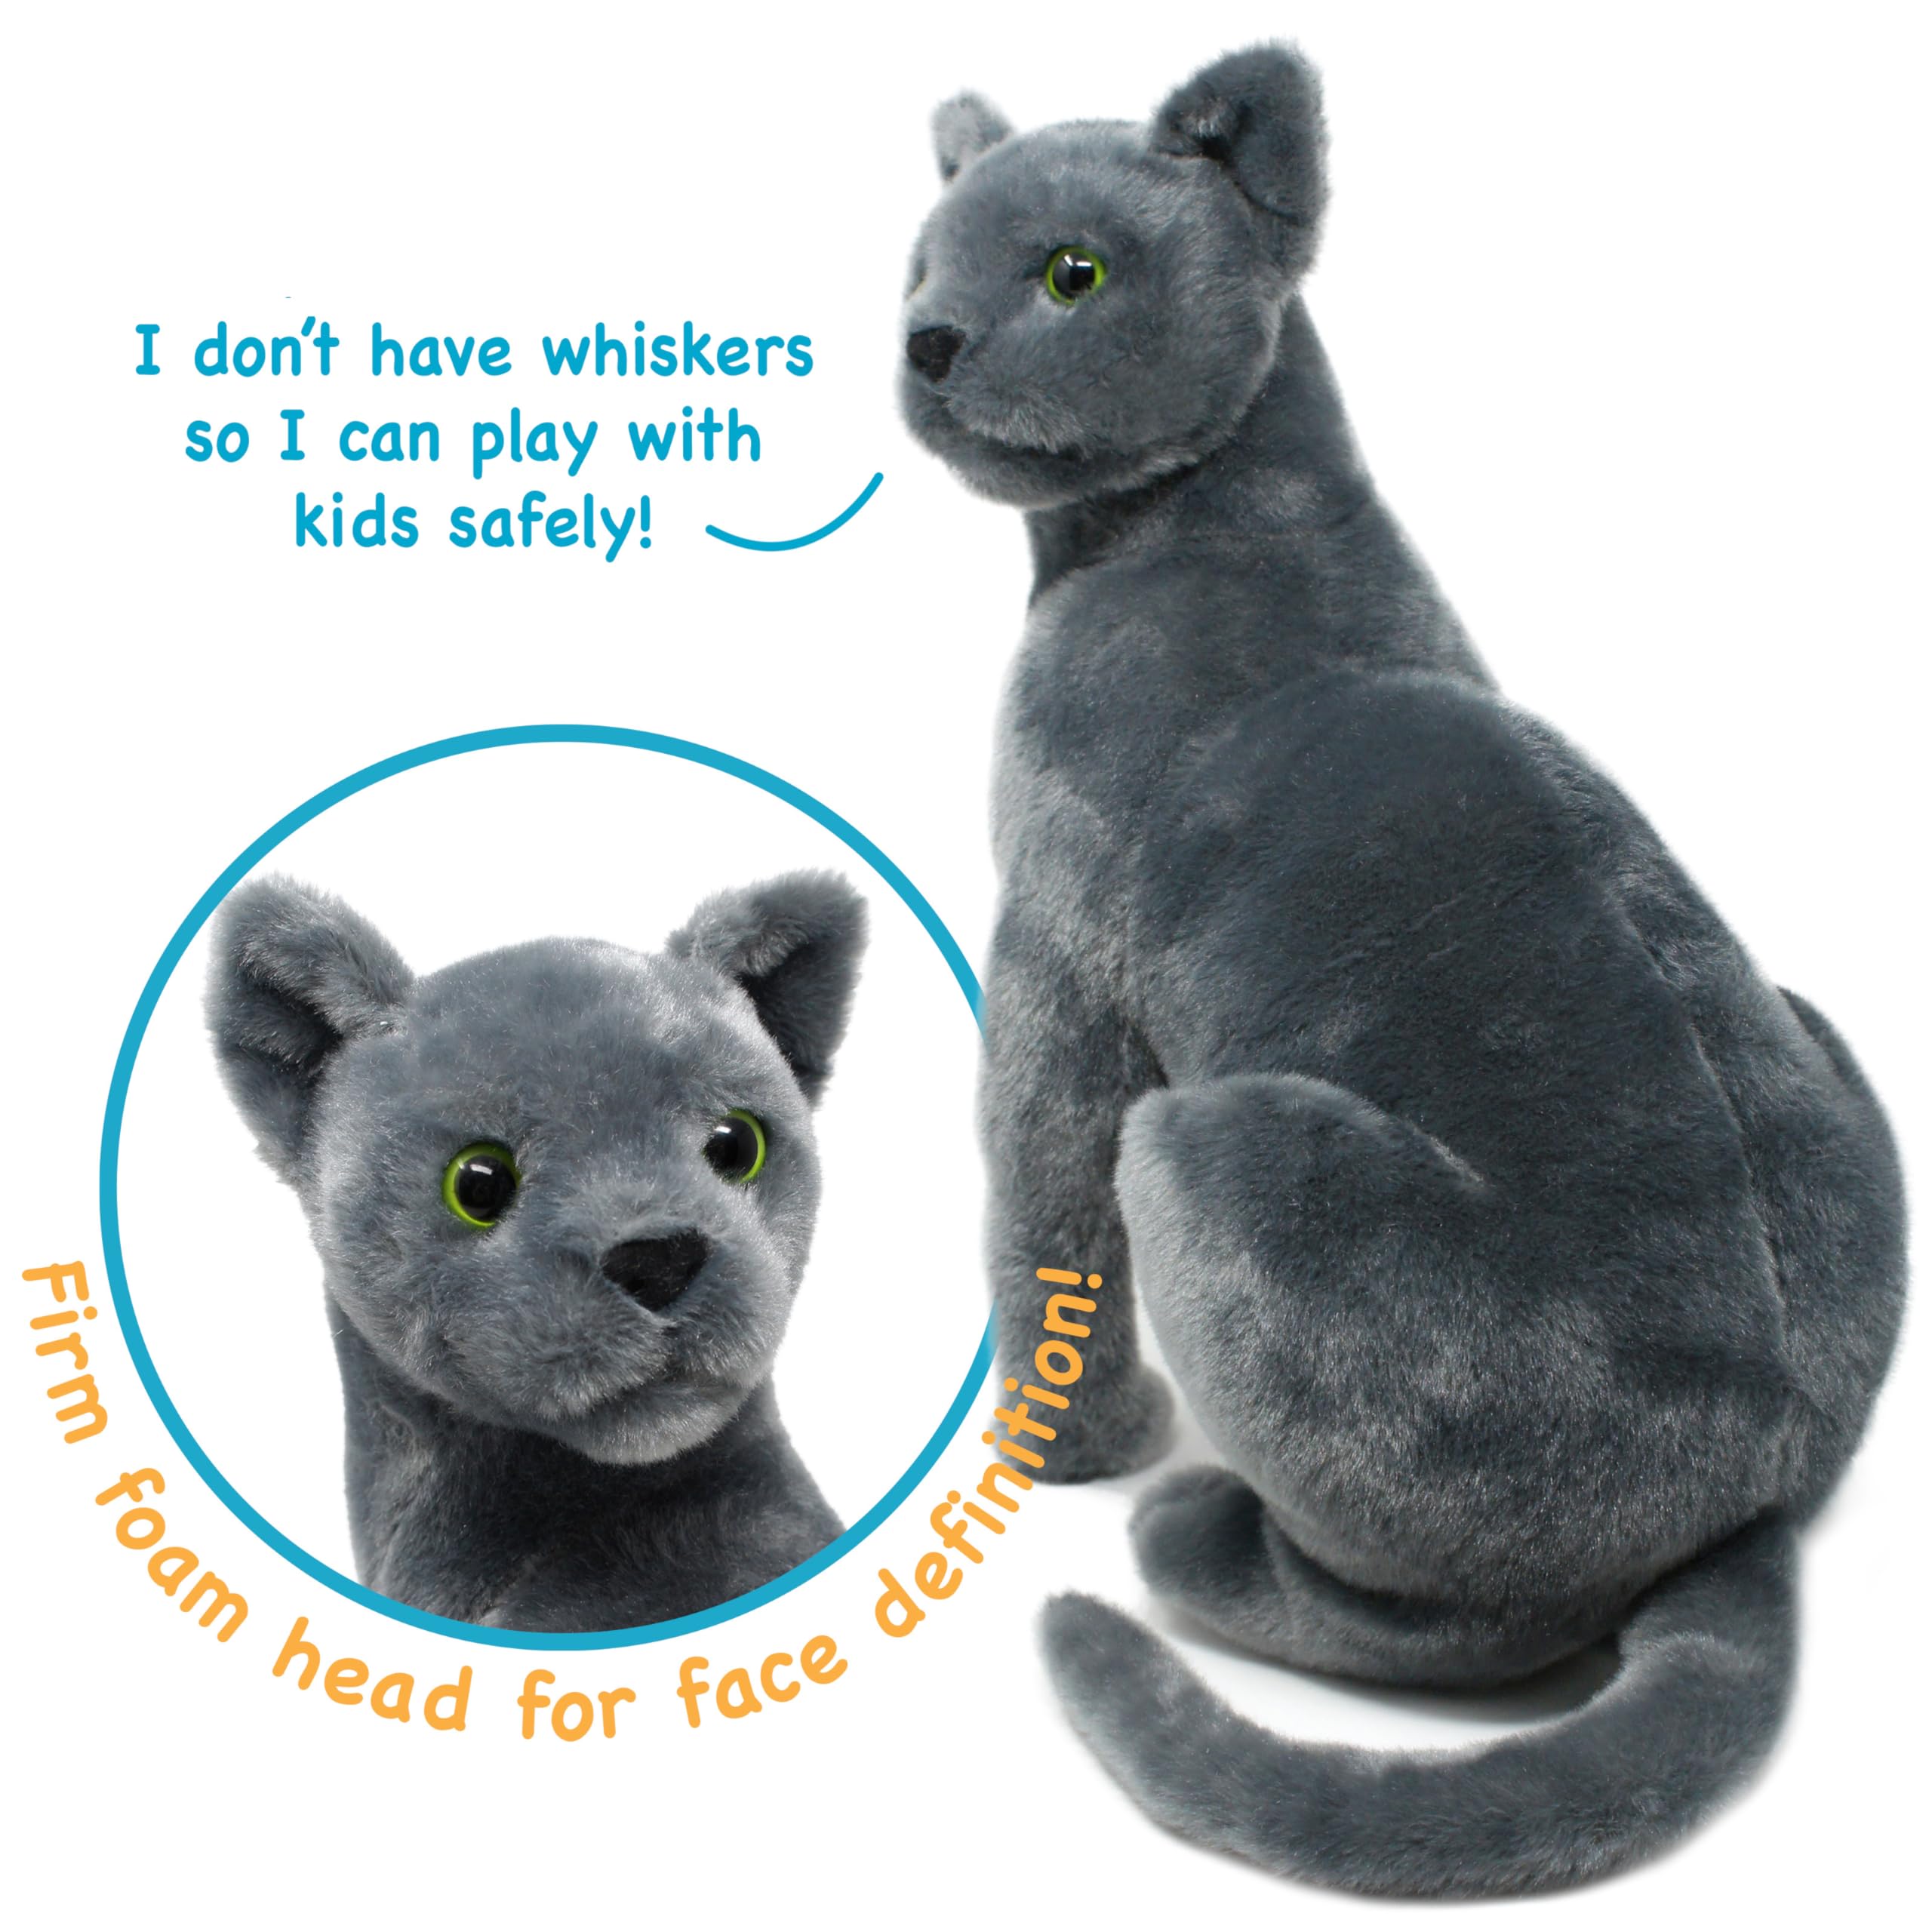
Then came the other bits: stuffing, thread, some safety eyes – those little plastic ones with the washers on the back. I figured green eyes would look best, classic Russian Blue, right?
The Actual Making – Chaos Ensues
Okay, so I had my pattern. I’d sketched out a pretty simple shape, nothing too complicated. I’m not exactly a master seamstress. I laid out my precious grey fabric, pinned the pattern down, and started cutting. This is always the nerve-wracking part for me. One wrong snip and, well, you’ve got a problem.
Sewing the pieces together… let’s just say my sewing machine and I had a few arguments. The thread kept bunching up on one side, then the needle broke. I swear, sometimes these machines have a mind of their own. I ended up doing a fair bit of hand-sewing, especially around the fiddly bits like the ears and the curve of the tail. My fingers were definitely sore after a while.
Stuffing that thing was an adventure. You think it’s easy, just shove it in? Nope. You gotta get it even, no lumps. I used a chopstick to push the stuffing into the legs and tail. It was like performing surgery on a very floppy patient. Fluff was everywhere. My living room looked like a grey sheep had exploded.
Finishing Touches – Making it a Cat
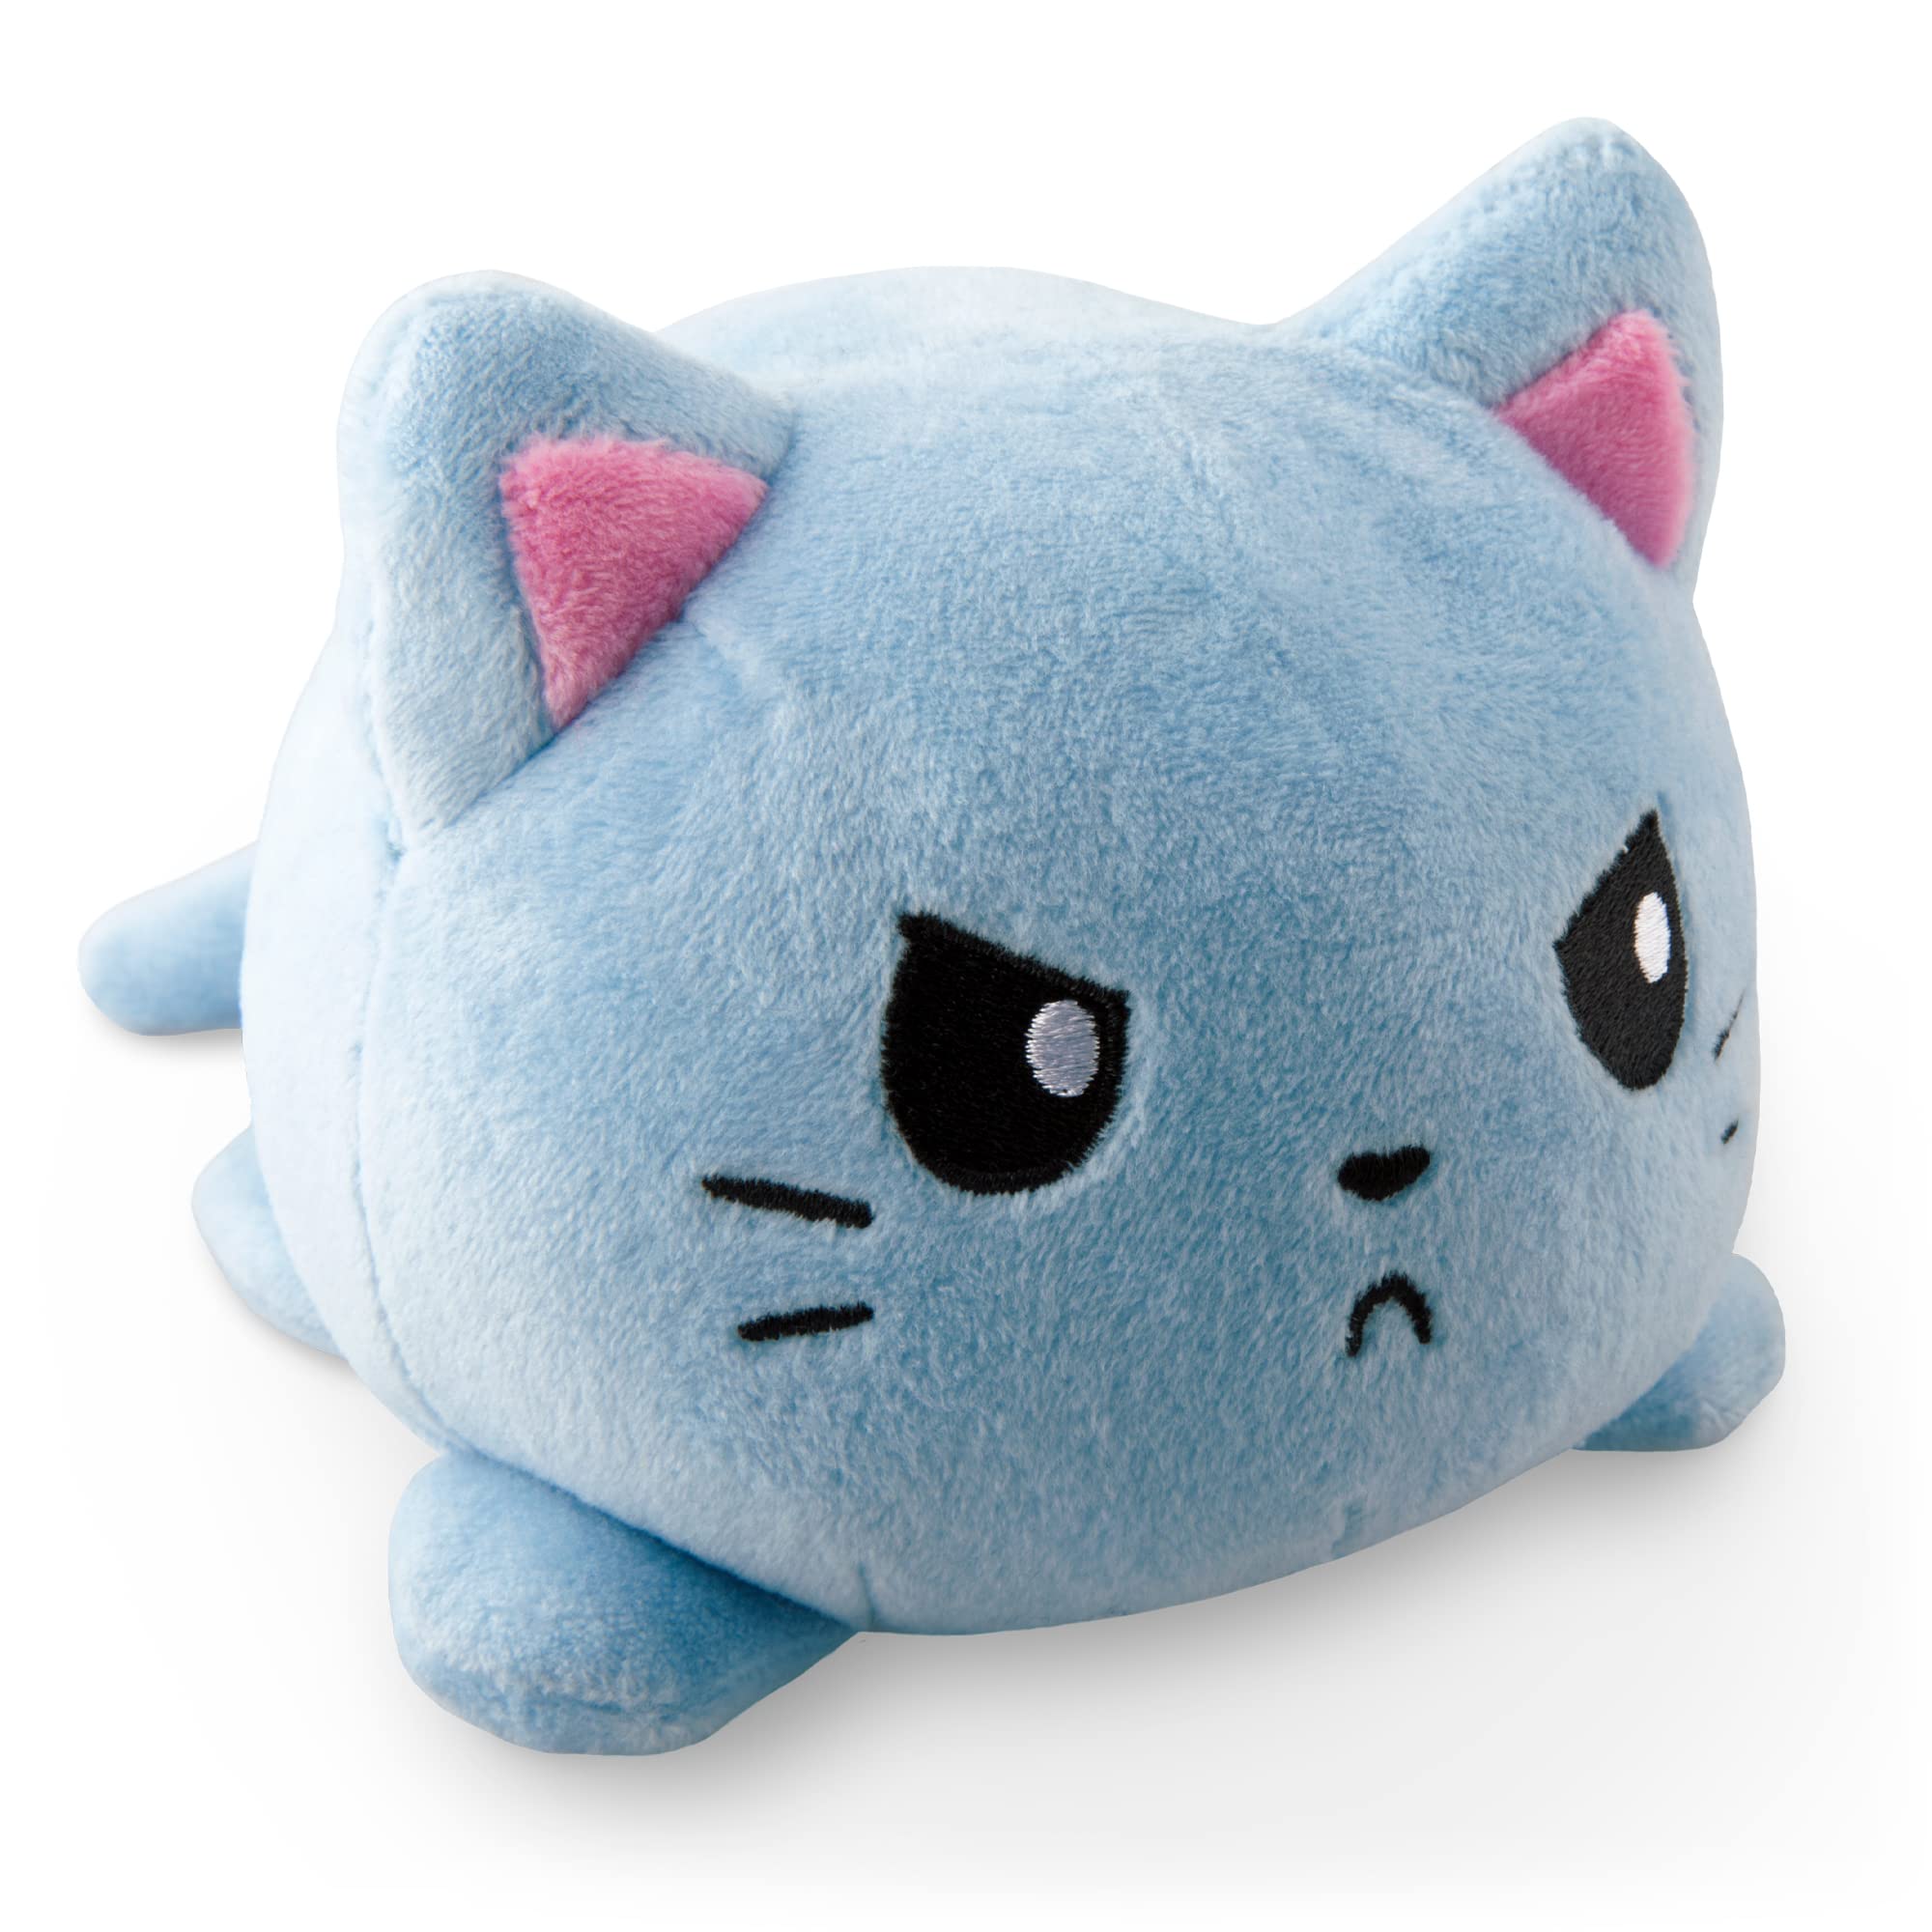
Once it was sufficiently plump, I sewed up the last seam. Then came the eyes. Getting those safety eyes in straight and even took a few tries. I made the little holes, pushed them through, and snapped the washers on the back. They make a very satisfying click when they’re secure. I decided against a stitched nose at first, but then it looked a bit blank. So I grabbed some pink embroidery floss and gave it a simple little triangle nose and a mouth. It made all the difference!
I thought about whiskers, but I couldn’t find anything that looked right. I didn’t want to use thread ’cause it would be too floppy. Maybe next time I’ll figure that out. For now, he’s a whisker-less wonder.
The Result – My Lumpy, Lovable Blue
So, is it perfect? Absolutely not. It’s a bit lumpy in places, one ear is slightly higher than the other if you look really closely, and it’s definitely handmade. But you know what? I made it. I wrestled with that fabric, battled the sewing machine, and meticulously stuffed it. And now I have this goofy, soft, grey cat plush sitting on my couch. It’s got character. And honestly, that’s better than store-bought perfect any day, if you ask me. It was a fun little journey, a bit frustrating at times, but mostly just a good way to spend a few afternoons. Now, what to make next…


