

Okay, so I’ve been wanting to make a toy cat carrier for my kid’s stuffed animals, and let me tell you, it was quite the adventure! I started by gathering all the stuff I needed. I grabbed an old shoebox, some colorful duct tape, scissors, and a few pipe cleaners. I figured, why not make it fun and vibrant, right?
First, I took the shoebox and made sure it was the right size for the toy cat. The box was a bit too big, so I cut it down a little. It had to be large enough for the toy cat to lay down comfortably and adjust their position but snug enough to ensure they don’t fall about inside.
Next, I wrapped the entire box with the colorful duct tape. I went with a bright rainbow pattern because, well, who doesn’t love rainbows? It was a bit tricky to get the tape smooth around the corners, but I managed it after a few tries.
Then came the fun part – making the door! I cut a rectangle on one side of the box, leaving one edge attached to act as a hinge. To make it look like a real pet carrier door, I used pipe cleaners. I poked holes along the edges of the door and the box, and then I threaded the pipe cleaners through, twisting them to create a sort of grid. It looked pretty neat, if I do say so myself.
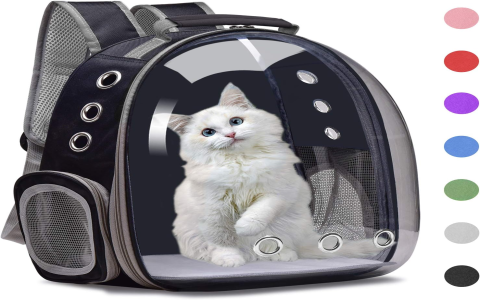
- Shoebox: Perfect size for a toy cat.
- Duct Tape: Rainbow pattern, because why not?
- Door: Made with pipe cleaners, looks just like a real one.
Making It Secure
Of course, I had to make sure the door could be securely closed. So, I fashioned a little latch using a piece of cardboard and some more duct tape. I attached it to the side of the box and the door, making sure it was strong enough to hold but also easy for little hands to open and close.
To make it even more realistic, I added a handle on top. I cut a strip of cardboard, covered it with duct tape, and then secured it to the top of the box. It was a bit wobbly at first, but I reinforced it with extra tape, and it held up pretty well.
Putting Catnip and Toys in the Carrier
I also added some soft fabric inside to make it cozy for the toy cat. I used an old t-shirt, cut it into a square, and placed it inside the box. My kid loved that part! They spent hours decorating the inside with stickers and drawings. To make it more interesting for the cat, I put catnip and toys in the carrier.
Finally, I let my kid test it out. They put their favorite stuffed cat inside, closed the door, and carried it around the house. It was a hit! They even took it to the park and showed it off to their friends.
All in all, it was a fun project. It didn’t take too long, and it was definitely worth the effort. Seeing my kid’s face light up when they saw the finished carrier was priceless. Plus, now they have a cool, handmade carrier for their toy cat, and I got to flex my crafting muscles a bit. Win-win!


