


Okay, so I’ve been meaning to upgrade my dog’s kennel situation for a while now. He’s a good boy, deserves the best, you know? So I finally took the plunge and decided to build him a really good dog kennel. Here’s how it all went down.
The Planning Stage
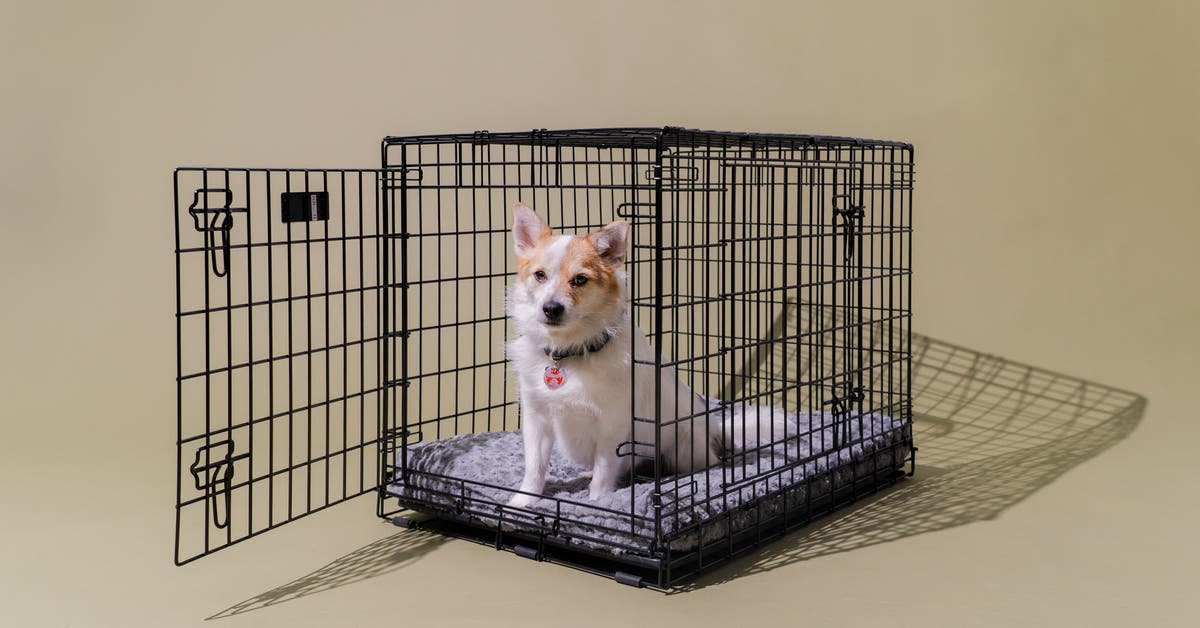
First, I spent some time just thinking about what I wanted. Did I want something basic? Something fancy? Indoors? Outdoors? My dog, he loves being outside, so I knew it had to be an outdoor kennel. I also considered the size. He’s not a tiny dog, so it needed to be big enough for him to move around comfortably, stand up, turn around, all that jazz.
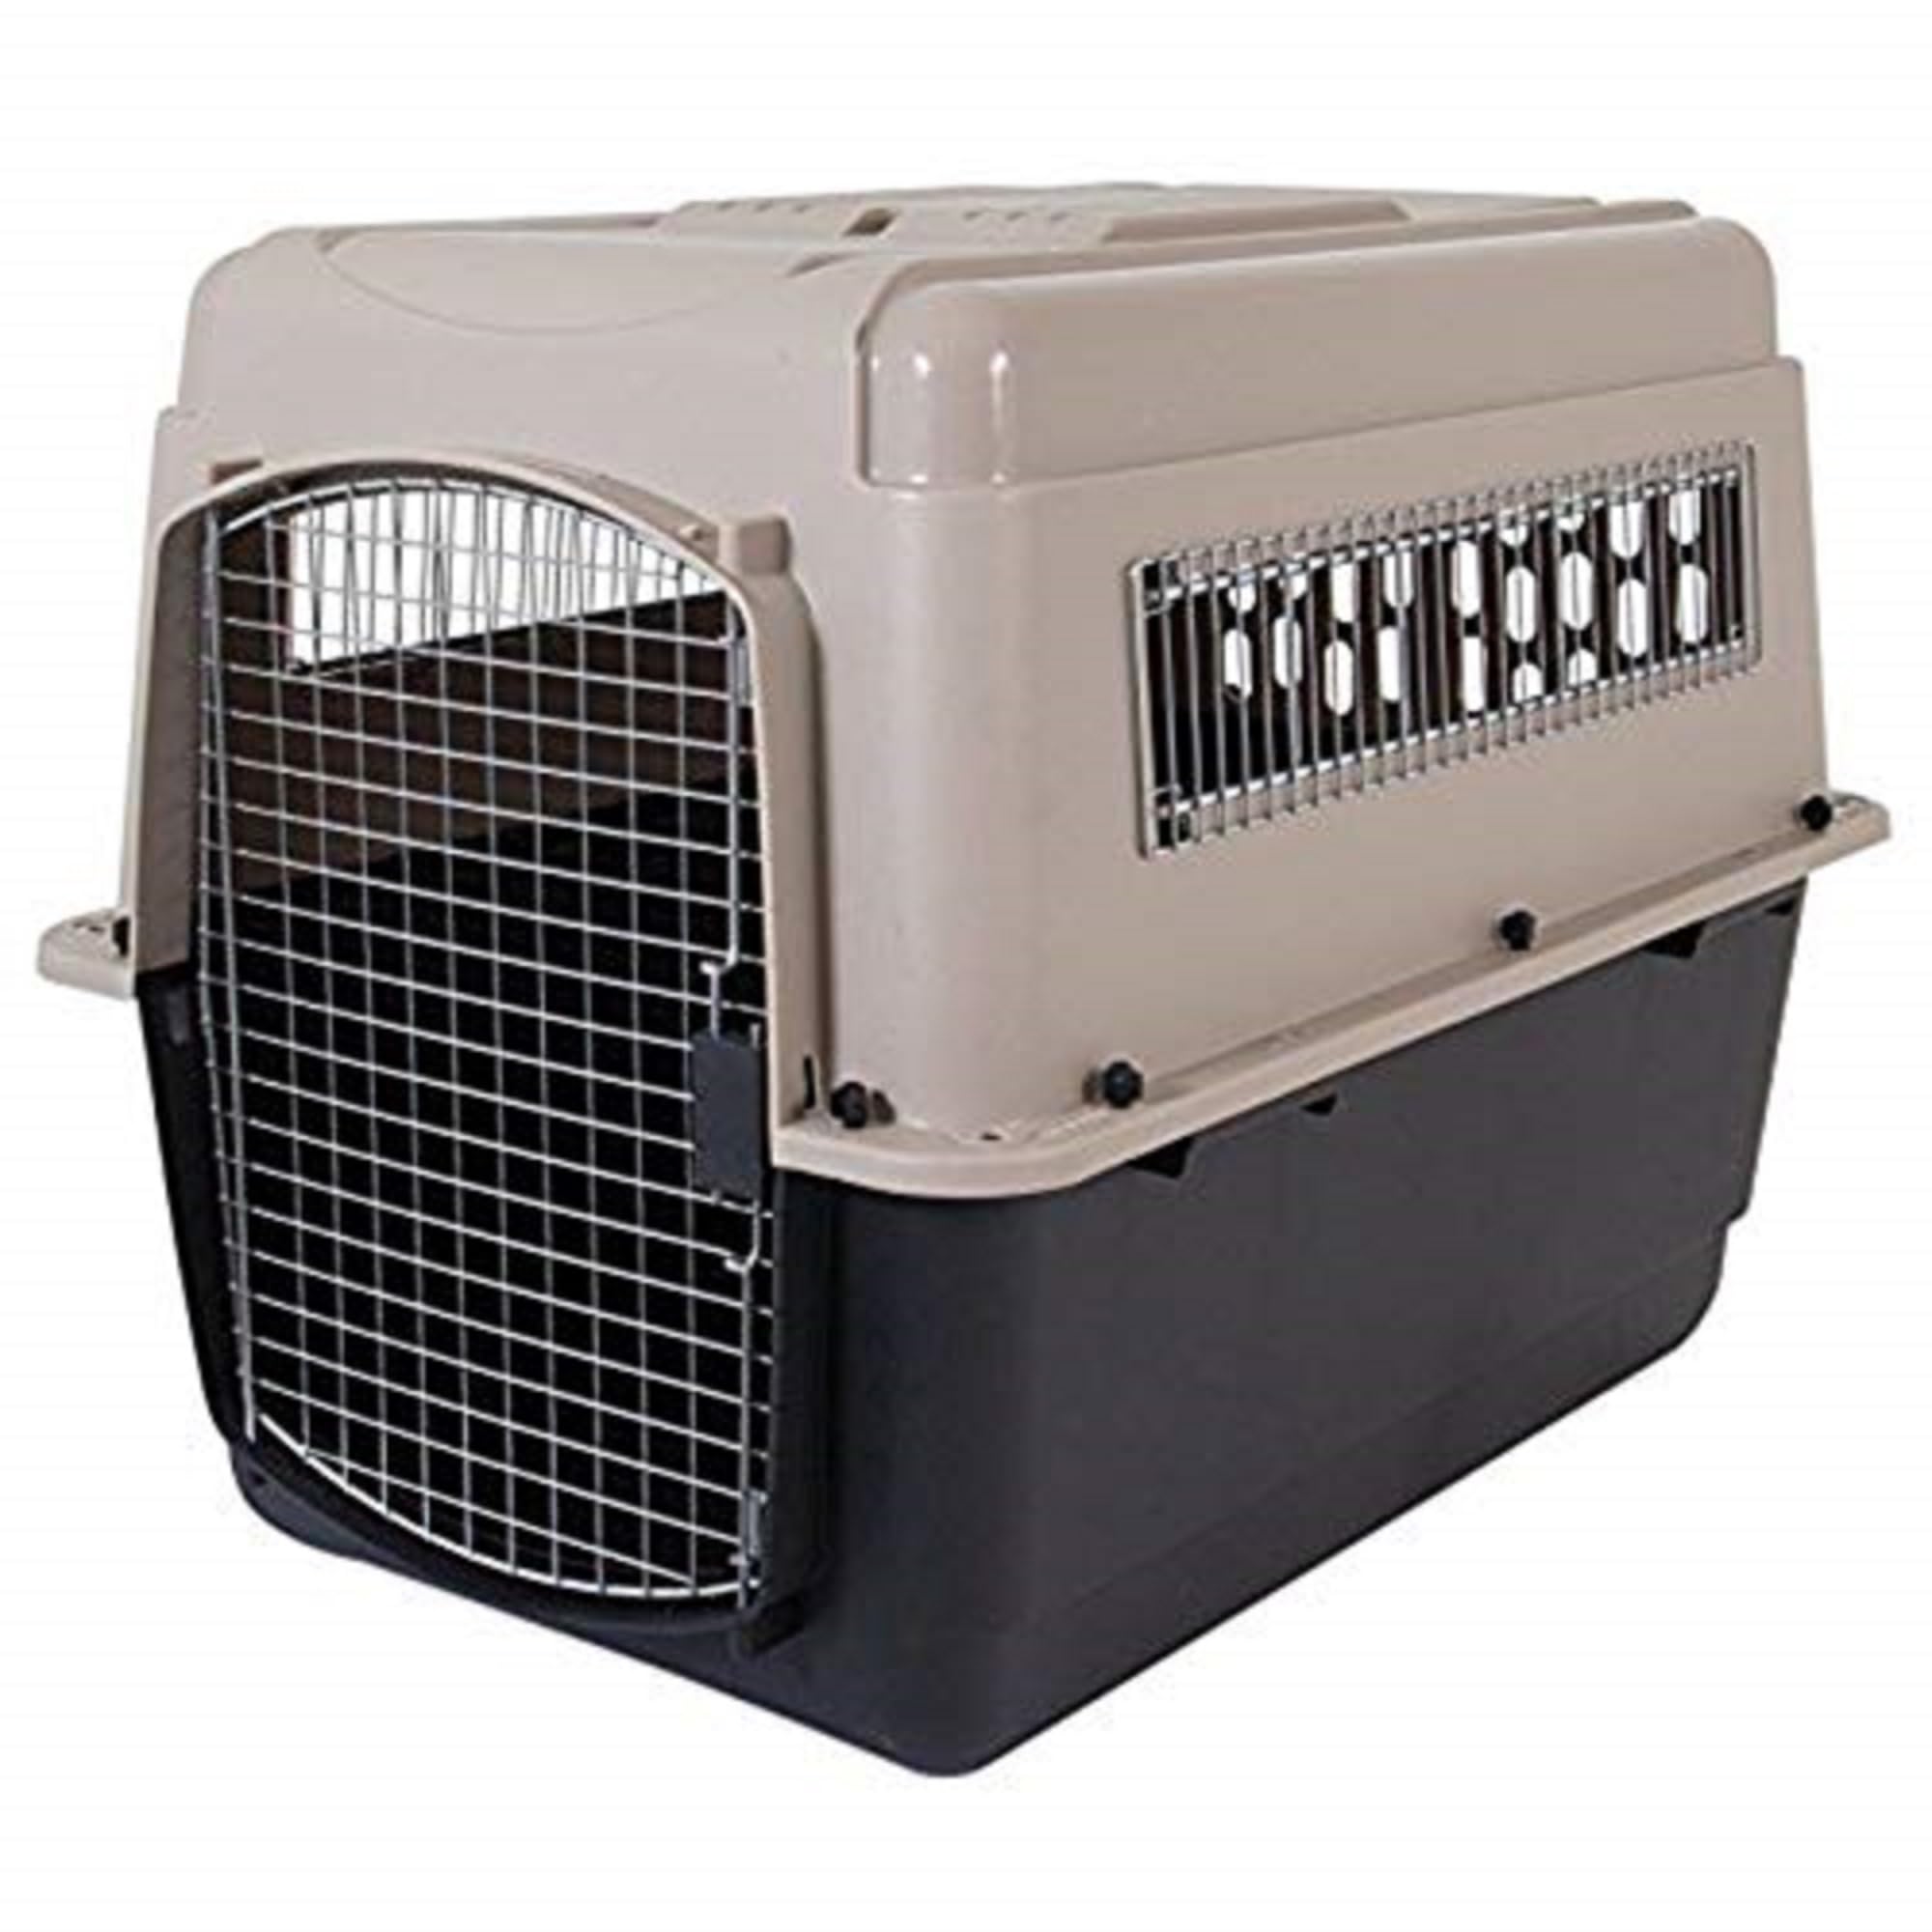
I checked some pre-made kennels,but honestly,they were all over my * I was like “I can do it, I can make a pretty good one!”.
Gathering Supplies
Next up was gathering all the stuff I needed. I made a list (very important, don’t skip this!). It looked something like this:
- Wood: Lots of it. I went with pressure-treated lumber since it’ll be outside.
- Wire mesh: For the sides, to keep him in but still let him see the world.
- Screws and nails: Obviously.
- A gate latch: Gotta be able to get him in and out.
- Roofing material: I used some corrugated metal sheets I found.
- Tools: Saw, drill, hammer, measuring tape, level – the whole shebang.
I spent a good chunk of a Saturday morning at the hardware store. It’s kind of my happy place, to be honest.
The Build
This is where the real fun began! I started by building the frame. I measured everything like, five times, because “measure twice, cut once,” right? I screwed the frame together, making sure it was nice and square. Used the level a lot here.
Then I attached the wire mesh to the frame. This was a bit tricky, but I managed to staple it securely all around. No escape artist moves for my pup!
Next, I built a simple roof frame and attached the metal sheets. I wanted to make sure he’d be protected from the rain and sun.
Finally, I installed the gate and latch. Made sure it swung smoothly and latched securely. Tested it a bunch of times, just to be sure.
The Finishing Touches
Once the main structure was done, I added a few extra touches. I built a little wooden platform inside for him to lie on, so he wouldn’t be directly on the ground. And I threw in his favorite blanket and a couple of toys.
The Result!
It took a couple of weekends, but I finally finished! And you know what? It looks pretty darn good! More importantly, my dog seems to love it. He went right in, sniffed around, and then curled up on his platform. Success!
It wasn’t perfect, sure. There were a few wonky cuts and a couple of moments where I almost threw my hammer across the yard. But I did it. And I saved a bunch of money compared to buying a pre-made one. Plus, I got the satisfaction of building something with my own two hands. Can’t beat that!


