

Alright, so the other day, my trusty Hoover PowerDash Pet carpet cleaner, the one that’s saved my rugs from countless muddy paw prints, started acting a bit funny. Wasn’t picking up like it used to, and I had a sneaking suspicion something was either clogged up good or a little plastic bit had finally given up the ghost. You know how these things go. They work great, until they don’t.
First thing I figured I needed was a good look at its guts. A parts diagram, to be precise. Without one, you’re just poking around in the dark, and I’m not about to make things worse. So, I typed in the usual suspect into the search bar: “hoover powerdash pet carpet cleaner parts diagram”.
My Little Search Adventure
Now, you’d think this would be straightforward. Sometimes it is, sometimes it ain’t. I went to the official Hoover site first, naturally. Navigated through their support section. Found my model, sure, but the diagrams they had were more for ordering big assemblies, not really showing you the tiny clips and screws, the real nitty-gritty I needed to see if I was gonna fix this myself or at least identify a small, replaceable part.
So, back to the search results I went. Clicked a few links. Some were just shops selling parts, which is fine, but again, not always showing the full picture of how everything fits together. It’s a bit of a pain when all you want is a clear schematic, you know? I wasn’t looking to rebuild the motor from scratch, just needed to see how the nozzle assembly or the brush housing was put together.
After a bit more digging, maybe 10-15 minutes of it, sifting through various sites – some helpful, some not so much – I finally stumbled upon a pretty decent exploded view. It wasn’t on the first page, mind you. Sometimes you gotta go a few pages deep or try slightly different wording in your search. Persistence, I tell ya.
What I Found and Why It Mattered
This diagram was clear enough. Showed the different components, how they connected. It wasn’t an engineering blueprint, but it was good enough for a DIY-er like me. I could see the main parts laid out:
- The clean water tank assembly.
- The dirty water tank.
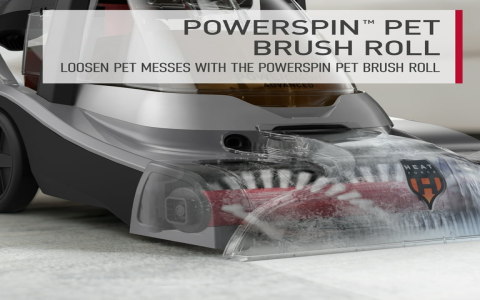
- The brush roll and its housing.
- The nozzle and how it attached.
- Even some of the smaller seals and screws.
This was key. With this visual guide, I could finally see the little tab I suspected was broken on my dirty water tank’s lid. It also helped me understand how to properly remove the brush assembly for a really deep clean, which it desperately needed, turns out. It wasn’t a broken part after all, just a massive, hidden clog that the diagram helped me safely access and clear out.
Having that diagram saved me a headache, and possibly some money. I didn’t have to guess, didn’t have to pry things apart blindly and risk breaking something for real. It just makes the whole process less frustrating when you have a roadmap of what you’re looking at.
So, yeah, that was my little adventure in finding a parts diagram for the Hoover PowerDash Pet. If you’re in a similar boat, just keep at it with the searching. Try different sites, look for model numbers specifically. Sometimes the diagrams are hidden in user manuals posted online, or on parts supplier websites. They’re out there, usually. Just takes a bit of looking. Hope this little record of my fumbling helps someone else out!


