

Okay, so today I’m gonna walk you through how I made a “the garfield movie 2024 poster”. It was a bit of a journey, not gonna lie, but the end result? Pretty darn cool.
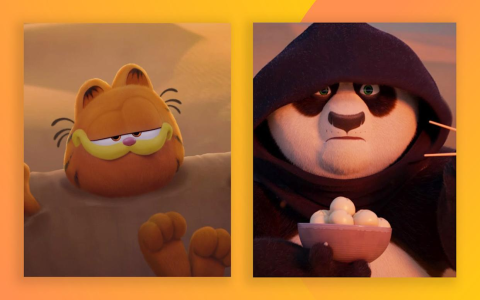
First things first, I needed a concept. I spent like an hour just staring at Garfield images, trying to figure out what vibe I wanted. Did I want him being lazy? Eating lasagna? Causing trouble? Ultimately, I decided to go for a “mischievous but lovable” look. You know, classic Garfield.
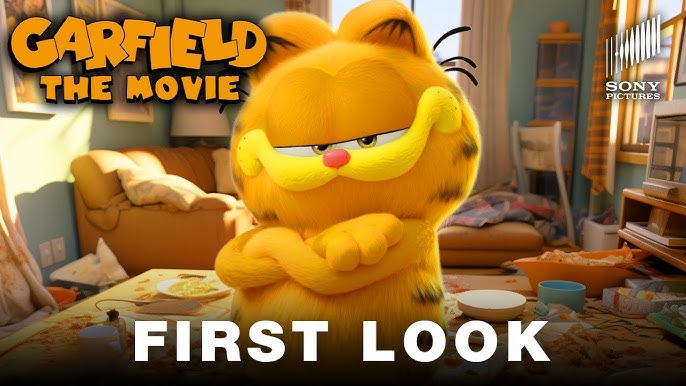
Then came the fun part: finding the right images. I hopped onto the internet and started searching for Garfield images. I wanted some high-res stuff so the poster wouldn’t look all pixelated. Scouring through pages and pages, found a couple that I thought would work. I paid special attention to the lighting and composition of each image because that’s super important.
After I had my Garfield images, I needed a background. I decided to go for a kind of city-esque setting, but not too detailed. I found some cool urban background images and downloaded them. Now, I was ready to fire up the image editing software.
I started by putting the background into my image editing software. Then, I brought in my Garfield image. This is where things got a little tricky. I had to carefully cut out Garfield from his original background so he wouldn’t have weird edges. I used the magic wand tool, selection tools, and refined the edges. It took a bit of patience, but I finally got it looking clean.
Next, I placed Garfield onto the background. At first, it looked totally out of place. The lighting was off, the colors didn’t match, it just didn’t feel right. So, I started playing around with the color correction. I adjusted the brightness, contrast, and saturation of Garfield to better match the scene. I also added a subtle shadow under him to make him look like he was actually standing there.
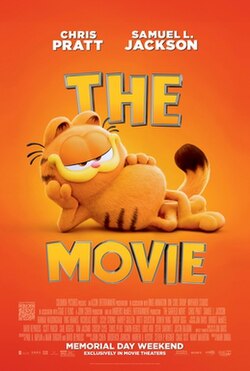
To make it really pop, I decided to add some text. I found a font that felt cartoony and playful, and then wrote “The Garfield Movie 2024.” I experimented with different colors and sizes until I found something that worked well with the overall design. I also added a bit of a glow effect to the text to make it stand out even more.
Now, for the final touches. I added a few little details to give the poster some extra personality. I put in a lasagna box. I also added a touch of blur to the background to create depth of field and focus attention to Garfield. I also played with some filters. I wanted the colors to pop.
And that’s pretty much it! After a few hours of tweaking and adjusting, I finally had my finished “the garfield movie 2024 poster”. It’s not perfect, but I’m pretty happy with how it turned out. It was a fun project, and I learned a lot along the way. Plus, now I have a cool-looking poster to show off. Boom!


