

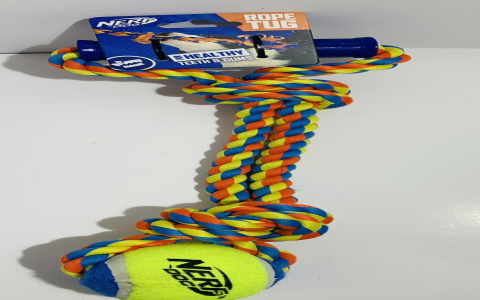
Okay, so I wanted to make a new toy for my dog, Buster. He loves to play fetch and tug-of-war, so I thought a rope ball would be perfect. I’ve seen these at the pet store, but they can be kind of pricey, and honestly, they don’t always last that long with Buster’s enthusiastic chewing.
Getting Started
First, I gathered my materials. All I needed was some rope – I used about 20 feet of cotton rope, maybe half an inch thick. You can use thicker or thinner rope depending on your dog’s size and how tough they are on toys. Make sure to choose a natural fiber rope, no weird chemical treated stuff. And of course my very own two hands!

Making the Ball
- I started by finding the middle of the rope and made a loop.
- Then, I basically braided the two sides of the rope together for a few inches. Nothing fancy, just a regular braid.
- Next, the tricky part: I took one end of the braided section and wrapped it around my hand a few times, making a loose coil.
- Then, I carefully slipped the coil off my hand and threaded the other end of the rope through the center of the coil.
- I repeated this a bunch of times, wrapping and threading, until I had a ball shape. It took some fiddling to get it to look right.
- The key is to keep pulling the rope tight after each wrap-around and through.
Finishing Up
Once I was happy with the size and shape of the ball, I trimmed the ends of the rope. I left a few inches on each end so Buster could have something to grab onto during tug-of-war. I also frayed the ends a bit, just to make it look more interesting. I didn’t want to cut it too short, other wise it will be easily unravel.
The whole process took me maybe 30 minutes, and it was actually kind of fun! Buster loves his new toy, and I love that it didn’t cost me much, and was a much more eco-friendly option than buying something plastic.
I noticed that the braiding part can get a little confusing if you’ve never done it before. Just keep trying, and you’ll get the hang of it! The tighter you make the ball, the longer it will last.


