

Okay, so yesterday I finally tackled the dog kennel – it was getting pretty ripe, not gonna lie. First things first, I moved the dogs, Buddy and Luna, to the backyard. No way was I cleaning with them underfoot.
Gathering Supplies
Next, I gathered my cleaning arsenal. Here’s what I used:

- Heavy-duty rubber gloves – wouldn’t touch that mess without ’em.
- A stiff-bristled brush – for scrubbing the concrete.
- A bucket – for mixing the cleaning solution.
- A hose – obviously, for rinsing.
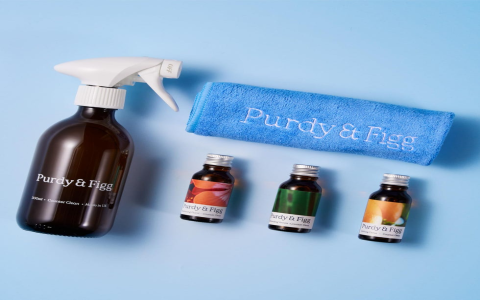
- Dog-safe disinfectant – super important, gotta kill those germs but not harm the pups. I found one that’s specifically for kennels.
- An old towel,Used to dry.
The Cleaning Process
I started by scooping out all the, uh, “solid waste.” Let’s just say it wasn’t pretty. Then I hosed down the whole kennel, getting rid of any loose dirt and debris.
After that, I mixed the disinfectant with water in the bucket, following the instructions on the bottle. I poured the solution all over the kennel floor and walls, making sure everything was soaked.
Then came the fun part – scrubbing! I put on those gloves and went to town with the brush, really getting into all the corners and crevices. It was a workout, I’m not gonna lie.
Once I was satisfied (and exhausted), I hosed everything down again, making sure all the disinfectant was rinsed away. Finally, I used an old towel dry the kennel. You can also let it air dry.
The kennel looks (and smells) a million times better now. Buddy and Luna seem pretty happy with their clean digs, too. Definitely worth the effort!


