


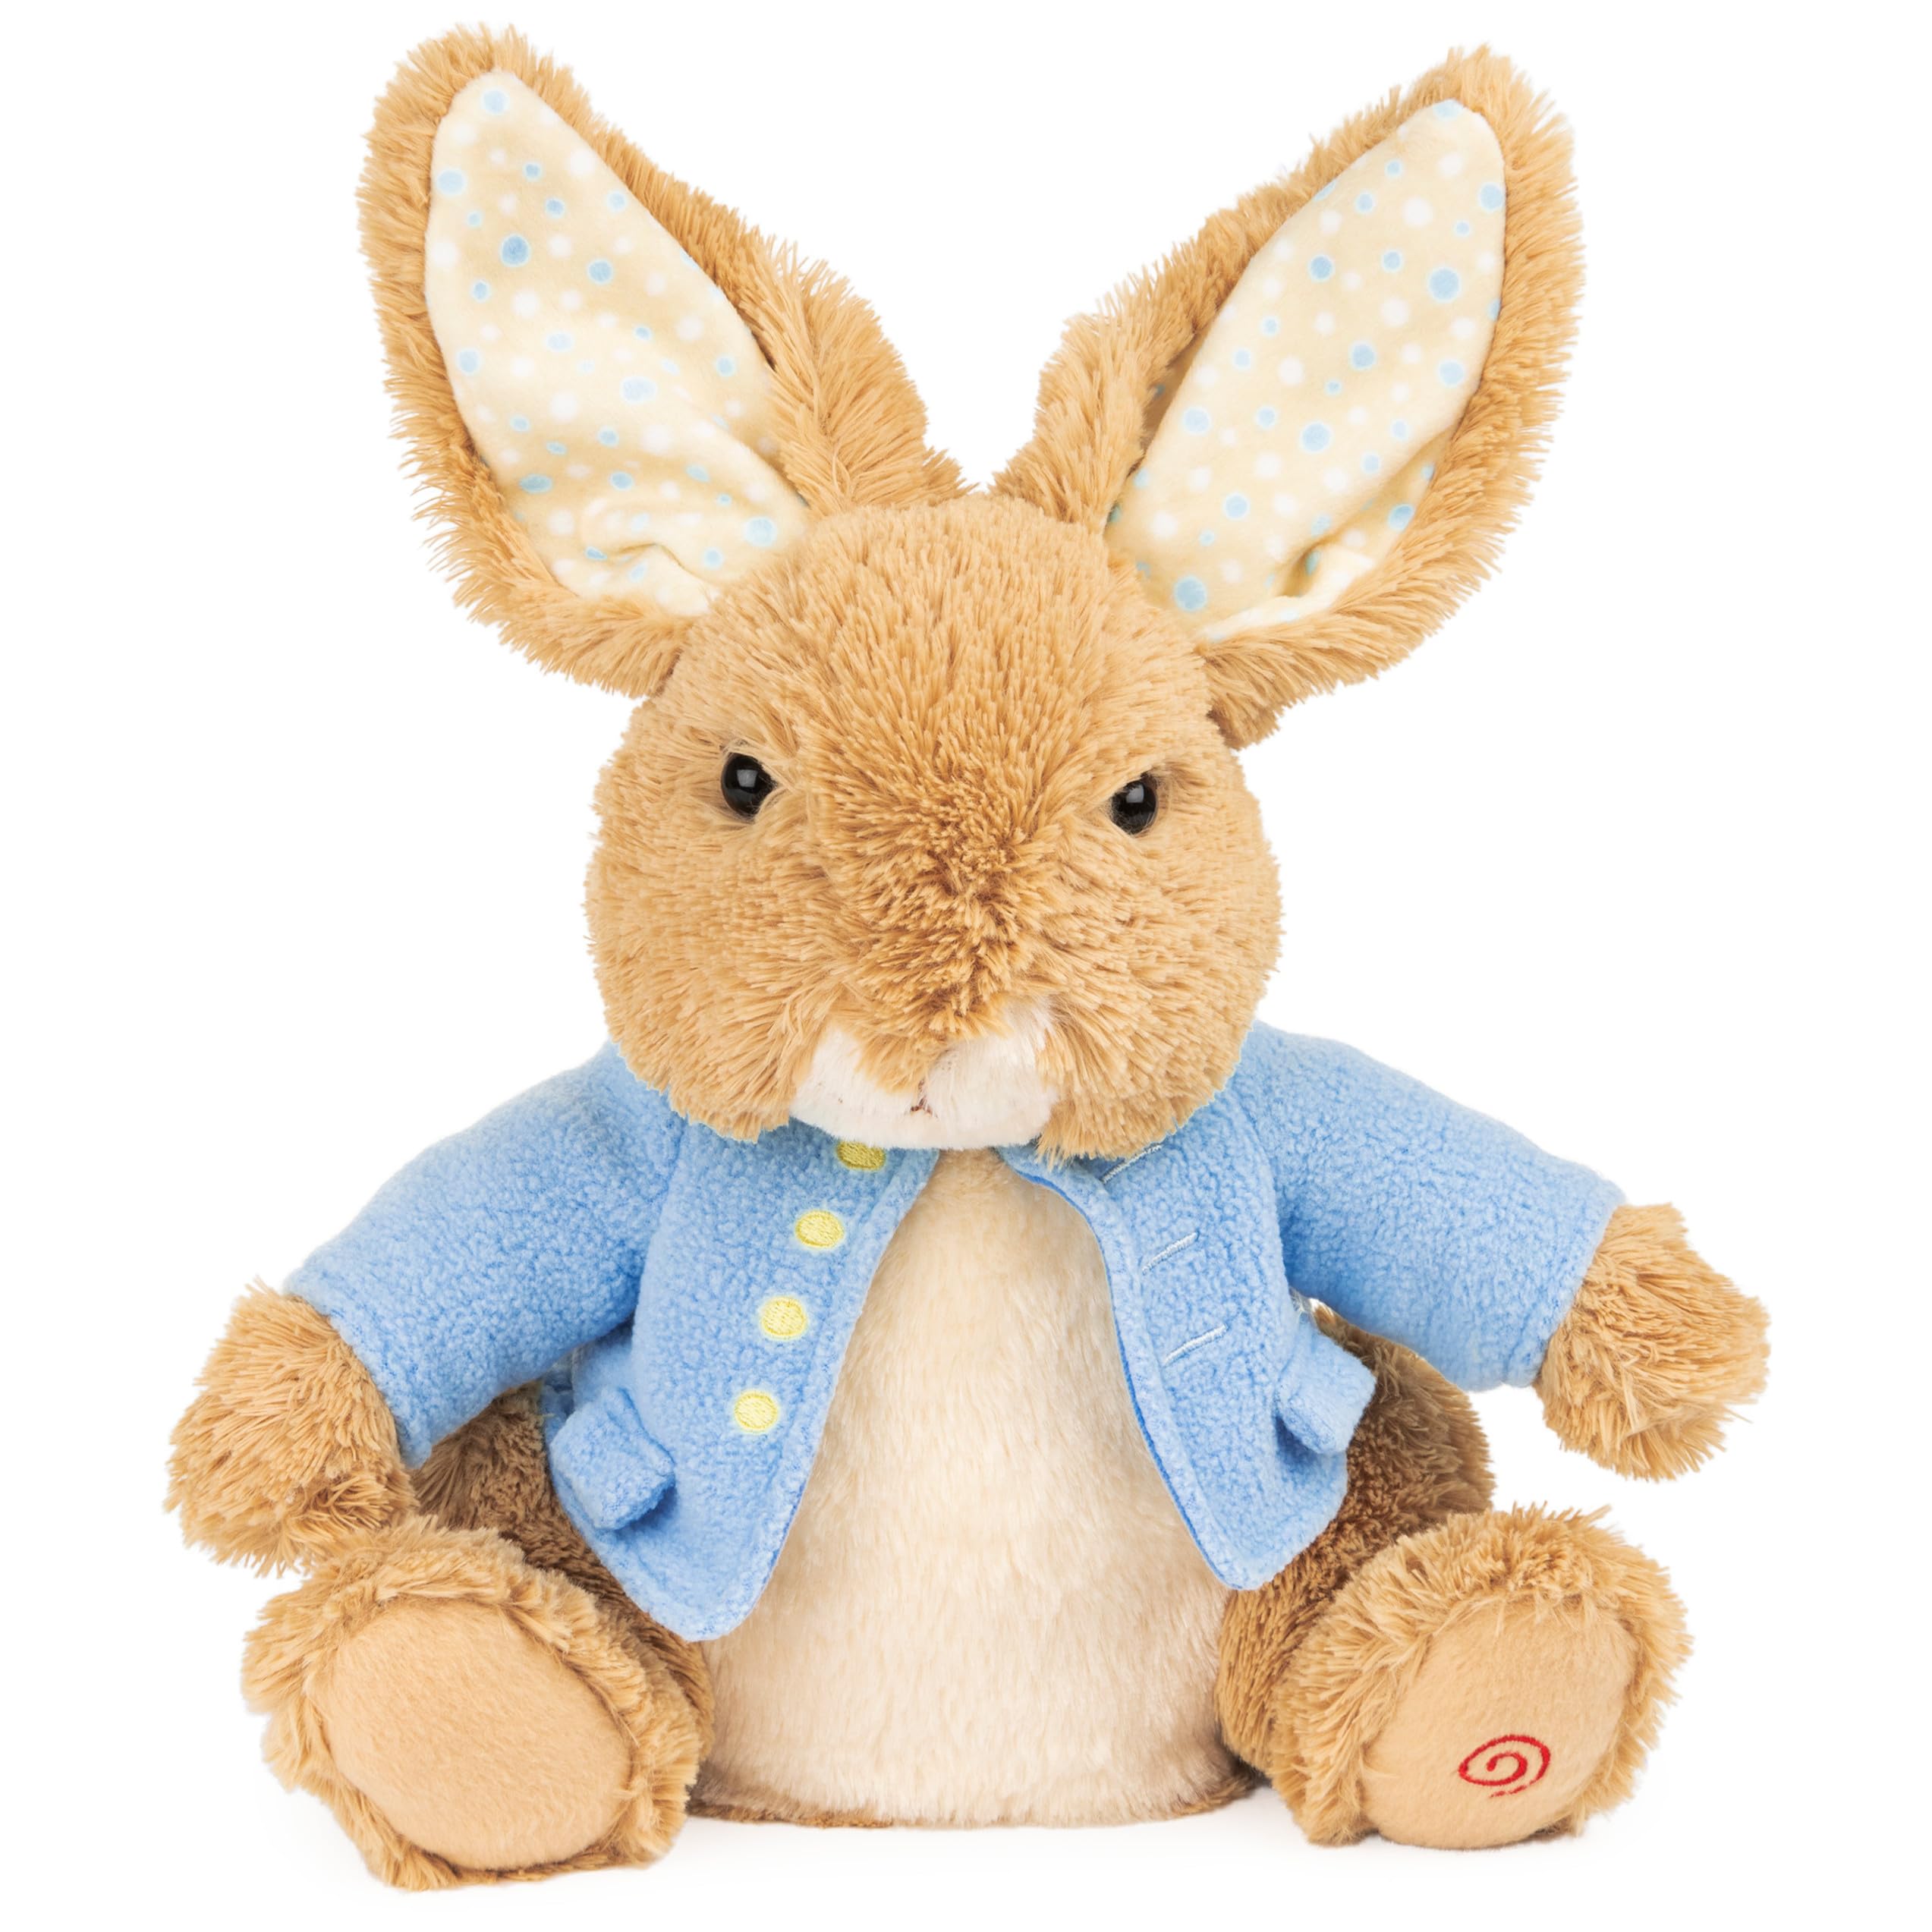
Getting Started with Peter
Alright, so I had this urge to make something cuddly, you know? And Peter Rabbit just popped into my head. Love that little guy. Thought it would be a nice little project to keep my hands busy.
First thing, had to figure out the materials. Dug through my fabric stash. Found some soft brownish stuff that felt right for Peter’s fur. Needed some white for his tummy and tail, and of course, that iconic blue for his jacket. Also grabbed some black and pink embroidery floss for his face, stuffing, needles, thread, the usual sewing bits.
Cutting and Shaping
Okay, finding a pattern… well, I sorta sketched one out myself, looking at pictures online. Wasn’t aiming for perfection, just something recognizable. Drew out the shapes for the body, head, arms, legs, and those long ears. Oh, and the pieces for his little blue coat. Double-checked the sizes, making sure they looked about right together.
Then came the cutting. Laid the fabric out flat. Pinned my paper patterns onto the brown fabric first. Carefully cut out two body pieces, two head pieces, four ear pieces (two brown, two white for lining), four arm pieces, and four leg pieces. Did the same for the white tummy patch and the little round tail. Then cut the blue fabric for the jacket. Lots of little pieces everywhere!
Putting Peter Together
Sewing time. I started with the head. Sewed the two brown head pieces together, leaving the neck open. Then did the ears, sewing a brown piece to a white piece, right sides together, leaving the bottom open. Turned those ears right side out. Tricky little things. Tucked the ears into the head seam before closing it up mostly, making sure they were pointing the right way.
Moved onto the body. Sewed the white tummy patch onto one of the brown body pieces first. Then sewed the two main body pieces together, leaving openings for the neck, arms, and legs. Did the arms and legs next, sewing the pairs together and leaving a small opening on each for turning and stuffing later.
Attaching the limbs was a bit fiddly. Turned them right side out, stuffed them lightly for now, and pinned them into the body openings. Sewed them securely in place from the inside. Then attached the head to the body at the neck opening. Peter was starting to look like… well, a floppy rabbit.
Stuffing and Details
Now for the fun part – stuffing! Used small bits of stuffing, pushing it into the legs, arms, and head first, making sure to get into the corners and those long ears. Then filled up the main body until he felt nice and plump, but still huggable. Closed up the main stuffing opening with some careful hand stitches.
Time for his face. Used the black floss to embroider his eyes – just simple little knots or short lines. Added a little pink nose and some whiskers with the black floss. Gave him a bit of character.
The tail was next. Sewed the white circle, gathered the edge slightly, stuffed it lightly, and stitched it onto his bottom. A proper bunny tail!
The Finishing Touch: His Jacket
Last but not least, his little blue jacket. Sewed the shoulder seams and side seams of the jacket pieces. Hemmed the edges to make it look neat. Didn’t bother with buttons, just made it like a little waistcoat he could slip on.
Slipped the jacket onto him. Had to wiggle his arms through. And there he was! My very own Peter Rabbit plush.
Overall thoughts? It took a bit longer than I expected, especially turning those small ears and arms. But seeing him finished, sitting there in his blue jacket, felt pretty good. A nice little handmade friend. Definitely worth the effort.


