

Alright, let me tell you about this dog collar rope thing I messed with.
The old collar for Max, my mutt, was looking pretty sad. Frayed edges, buckle getting stiff. Looked online, went to the pet store. Everything felt either flimsy or cost way too much for what it was – just some webbing and plastic. Seemed like a rip-off. I figured, how hard can it be? It’s basically a strong loop.
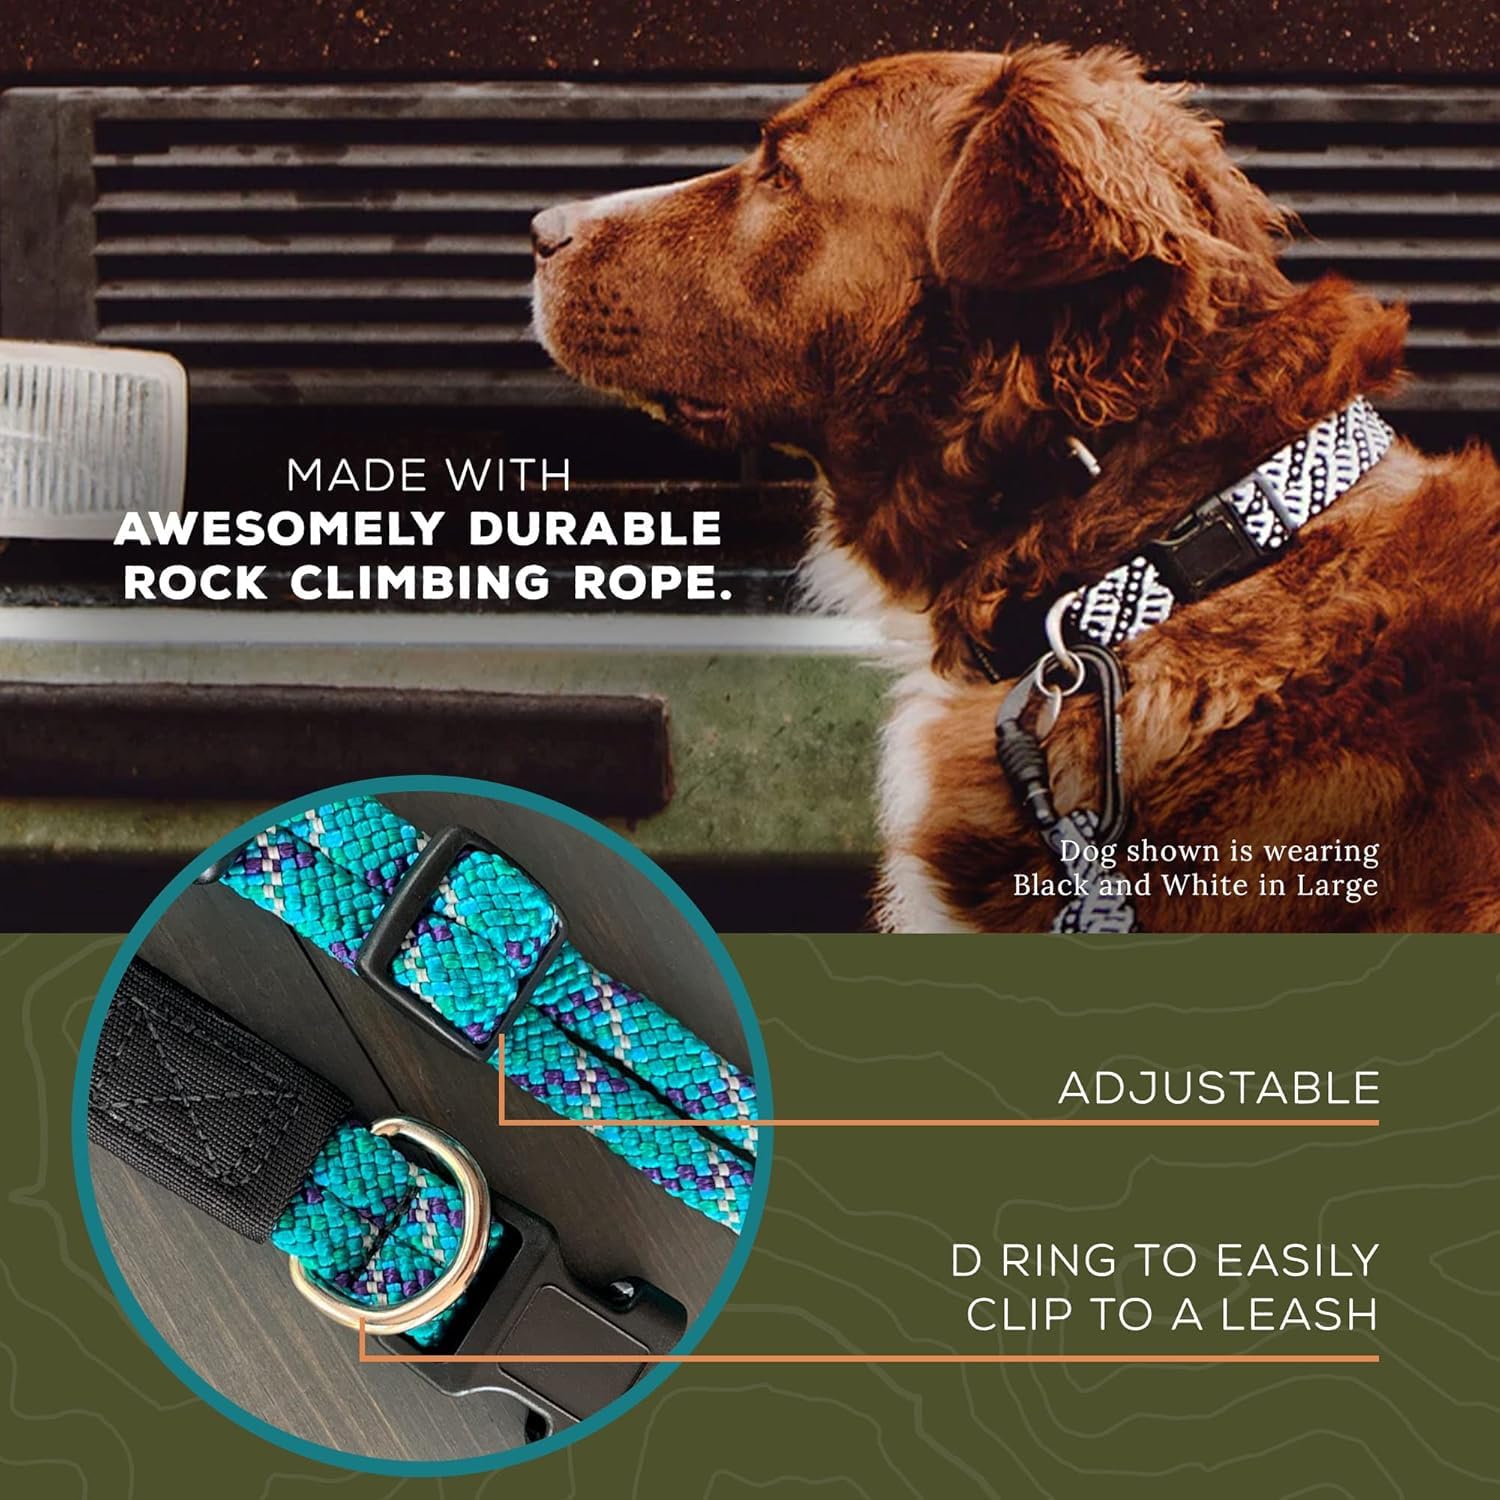
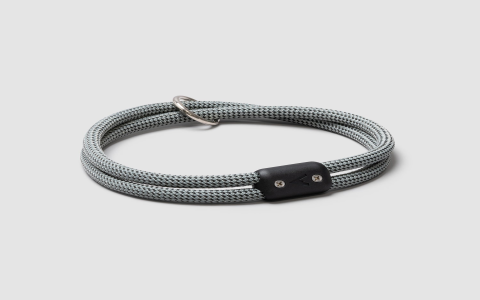
So, I decided I’d just make one myself. Headed down to the hardware store. Found some decent climbing rope – not the super thick stuff, but a good, strong utility rope, maybe half an inch thick? Felt solid in my hand. Grabbed a sturdy metal D-ring for the leash clip and one of those heavy-duty side-release buckles, also metal. Didn’t trust the plastic ones after the last collar.
Putting it Together
Got home, laid everything out on the garage workbench. First thing was measuring Max’s neck. Did it twice because he wouldn’t stay still. Added a couple of inches just for slack and overlap for the buckle.
Cutting the rope was tougher than I thought. Had to use a sharp utility knife and saw back and forth. The ends started fraying immediately, looked messy. Remembered seeing someone melt rope ends once. So, I carefully used a lighter to melt the cut ends. Fused them together nice and neat. Stunk up the garage a bit, though.
Next, threading the buckle parts on. Slipped one end of the rope through the female part of the buckle. Looped it back on itself. Now, how to secure this loop? Tried a few knots, but they looked bulky or didn’t seem like they’d hold under pressure. Max pulls sometimes, you know? Especially when he sees a squirrel.
I ended up using some super strong epoxy glue I had lying around, really worked it into the fibers where the rope overlapped. Then, just to be safe, I wrapped that section tightly with heavy-duty waxed thread. Stitched it back and forth with pliers and a thick needle until it felt rock solid. Took ages, my fingers were sore.
Did the same for the other end of the rope with the male buckle part, but first, I slipped the D-ring onto the main length of the rope. Then attached the male buckle end, glued it, stitched it up tight just like the first side.
Let me tell you, getting the length right was a bit fiddly. Had to check it against the measurement again before securing the second buckle end.
- Measured the neck.
- Cut the rope.
- Melted the ends.
- Threaded one buckle piece and the D-ring.
- Secured the first buckle piece (glue and stitching).
- Checked length again.
- Threaded and secured the second buckle piece.
Let the glue fully cure overnight. The next morning, I picked it up. Felt really sturdy. Much heavier than the store-bought ones. Looked a bit rough, not gonna lie. My stitching wasn’t exactly factory quality, but it felt strong.
Called Max over. He sniffed it suspiciously. Clipped it around his neck. The buckle clicked shut satisfyingly. Adjusted it slightly. Fit was pretty good. Attached the leash to the D-ring and took him outside for a test walk. Pulled on it myself first, hard. Didn’t budge. Max did his usual sniffing and pulling towards interesting smells. The collar held up perfectly. The rope didn’t dig into his neck, seemed comfortable enough.
So yeah, that was my little project. Took more effort than just clicking ‘buy now’, definitely. But now Max has a collar that feels indestructible, and it cost me less than ten bucks in materials. Plus, I made it. Feels good, you know? Not pretty, but it works. Job done.


