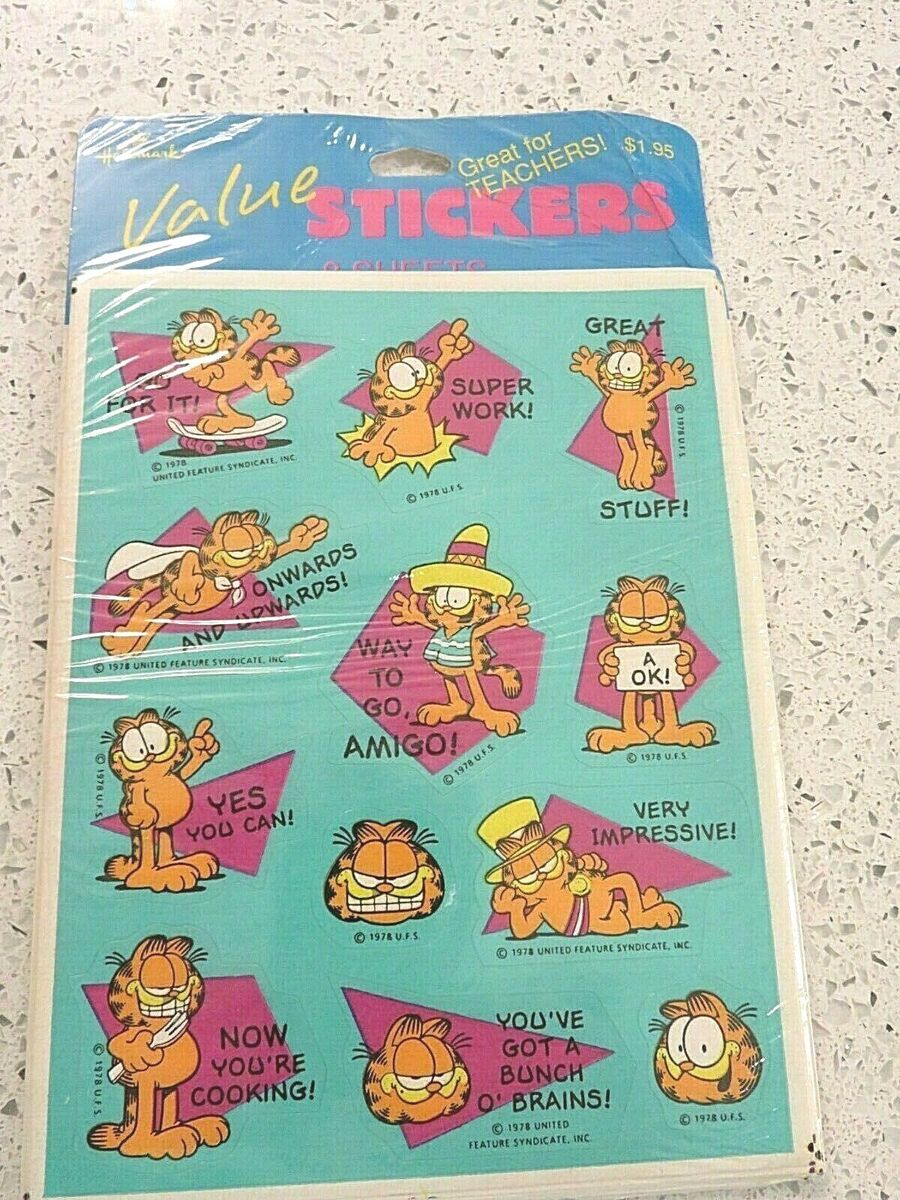
Alright, let’s talk about how I made some Garfield stickers! It was a fun little side project, and I learned a thing or two along the way.
The Idea Hit Me: So, I was scrolling through some memes (as you do), and Garfield popped up. I thought, “Hey, Garfield stickers would be awesome!” I mean, who doesn’t love that grumpy, lasagna-loving cat?

Gathering Resources: First thing’s first, I needed some Garfield images. I hopped onto Google and searched for “Garfield png” and “Garfield transparent background.” I made sure to grab a bunch of different poses and expressions – happy, angry, sleepy, the whole shebang.
Image Editing Time: Next up, image editing. I used GIMP (it’s free and does the job) to clean up the images I found. Some of them had weird edges or watermarks, so I spent some time erasing those. Also, I made sure the backgrounds were truly transparent. Nothing’s worse than a sticker with a white box around it!
Creating the Sticker Outline: This was probably the trickiest part. I wanted a nice, clean outline around each Garfield. In GIMP, I used the “Select by Color” tool to select the Garfield image itself. Then, I went to “Select” -> “Grow” and expanded the selection by a few pixels. After that, I “feathered” the selection a bit to soften the edges.
Filling the Outline: With the selection done, I created a new layer underneath the Garfield image layer. I filled the selection with white. Boom! Instant sticker outline. I repeated this process for all the Garfield images I wanted to turn into stickers.
Arranging the Stickers: Now that I had a bunch of individual Garfield stickers, I needed to arrange them on a sheet for printing. I created a new image in GIMP with the dimensions of a standard sticker sheet (8.5 x 11 inches). Then, I copied and pasted each Garfield sticker onto the sheet, arranging them to maximize space.
Adding Some Flair: Just to spice things up, I added some text to a few of the stickers. Things like “I hate Mondays,” “Lasagna Time,” and “Feed Me.” I used a chunky, cartoonish font to match the Garfield vibe.
Printing and Cutting: Finally, it was time to print! I loaded some sticker paper into my printer and printed the sheet. After that, the real fun began – cutting out the stickers. I used a pair of scissors for the simpler shapes, and an X-Acto knife for the more intricate ones. It took a while, but I eventually had a whole stack of Garfield stickers!

The Result: And there you have it! I now have a collection of awesome Garfield stickers that I can stick on my laptop, water bottle, and anywhere else I want to spread some grumpy cat love. It was a fun and rewarding project, and I’m already thinking about what kind of stickers I should make next. Maybe some Odie ones to balance things out?


