

Alright, so I’m gonna walk you through how I built those cattery pens. It was a bit of a journey, let me tell ya.
First things first, planning! I spent ages measuring out the space. I had this patch of land behind the house that was just begging to be used. Grabbed my measuring tape and roughed out some dimensions on a piece of scrap paper. I knew I wanted at least two separate pens, big enough for a couple of cats to stretch their legs.
Then came the shopping spree. Hit up the local hardware store and loaded up. We’re talking treated lumber (crucial for outdoor stuff), chicken wire (lots of it), metal posts, hinges, latches, screws… the whole shebang. My truck was groaning by the time I was done.
Building the frames. I started with the basic rectangular frames for each pen. Cut the lumber to length, made sure the corners were square (that’s key!), and screwed everything together nice and tight. Used a level constantly to make sure it was all sitting flat. This part took a while, but it’s the foundation, right?
Setting the posts. This was probably the most back-breaking part. I dug holes for the metal posts around the perimeter of each pen, making sure they were deep enough to be sturdy. Then I set the posts in concrete. Let that stuff cure for a couple of days before I did anything else. Patience, patience!
Attaching the frames to the posts. With the posts solid, I attached the wooden frames to them. Used heavy-duty brackets and screws for this. Wanted to make sure those frames weren’t going anywhere, especially in strong winds.
Chicken wire time! Ugh, this was tedious. I unrolled the chicken wire and started stapling it to the wooden frames. Pulled it tight as I went to avoid any saggy bits. Overlapped the edges to make sure there were no gaps for escape artists. My hands were definitely sore after this.
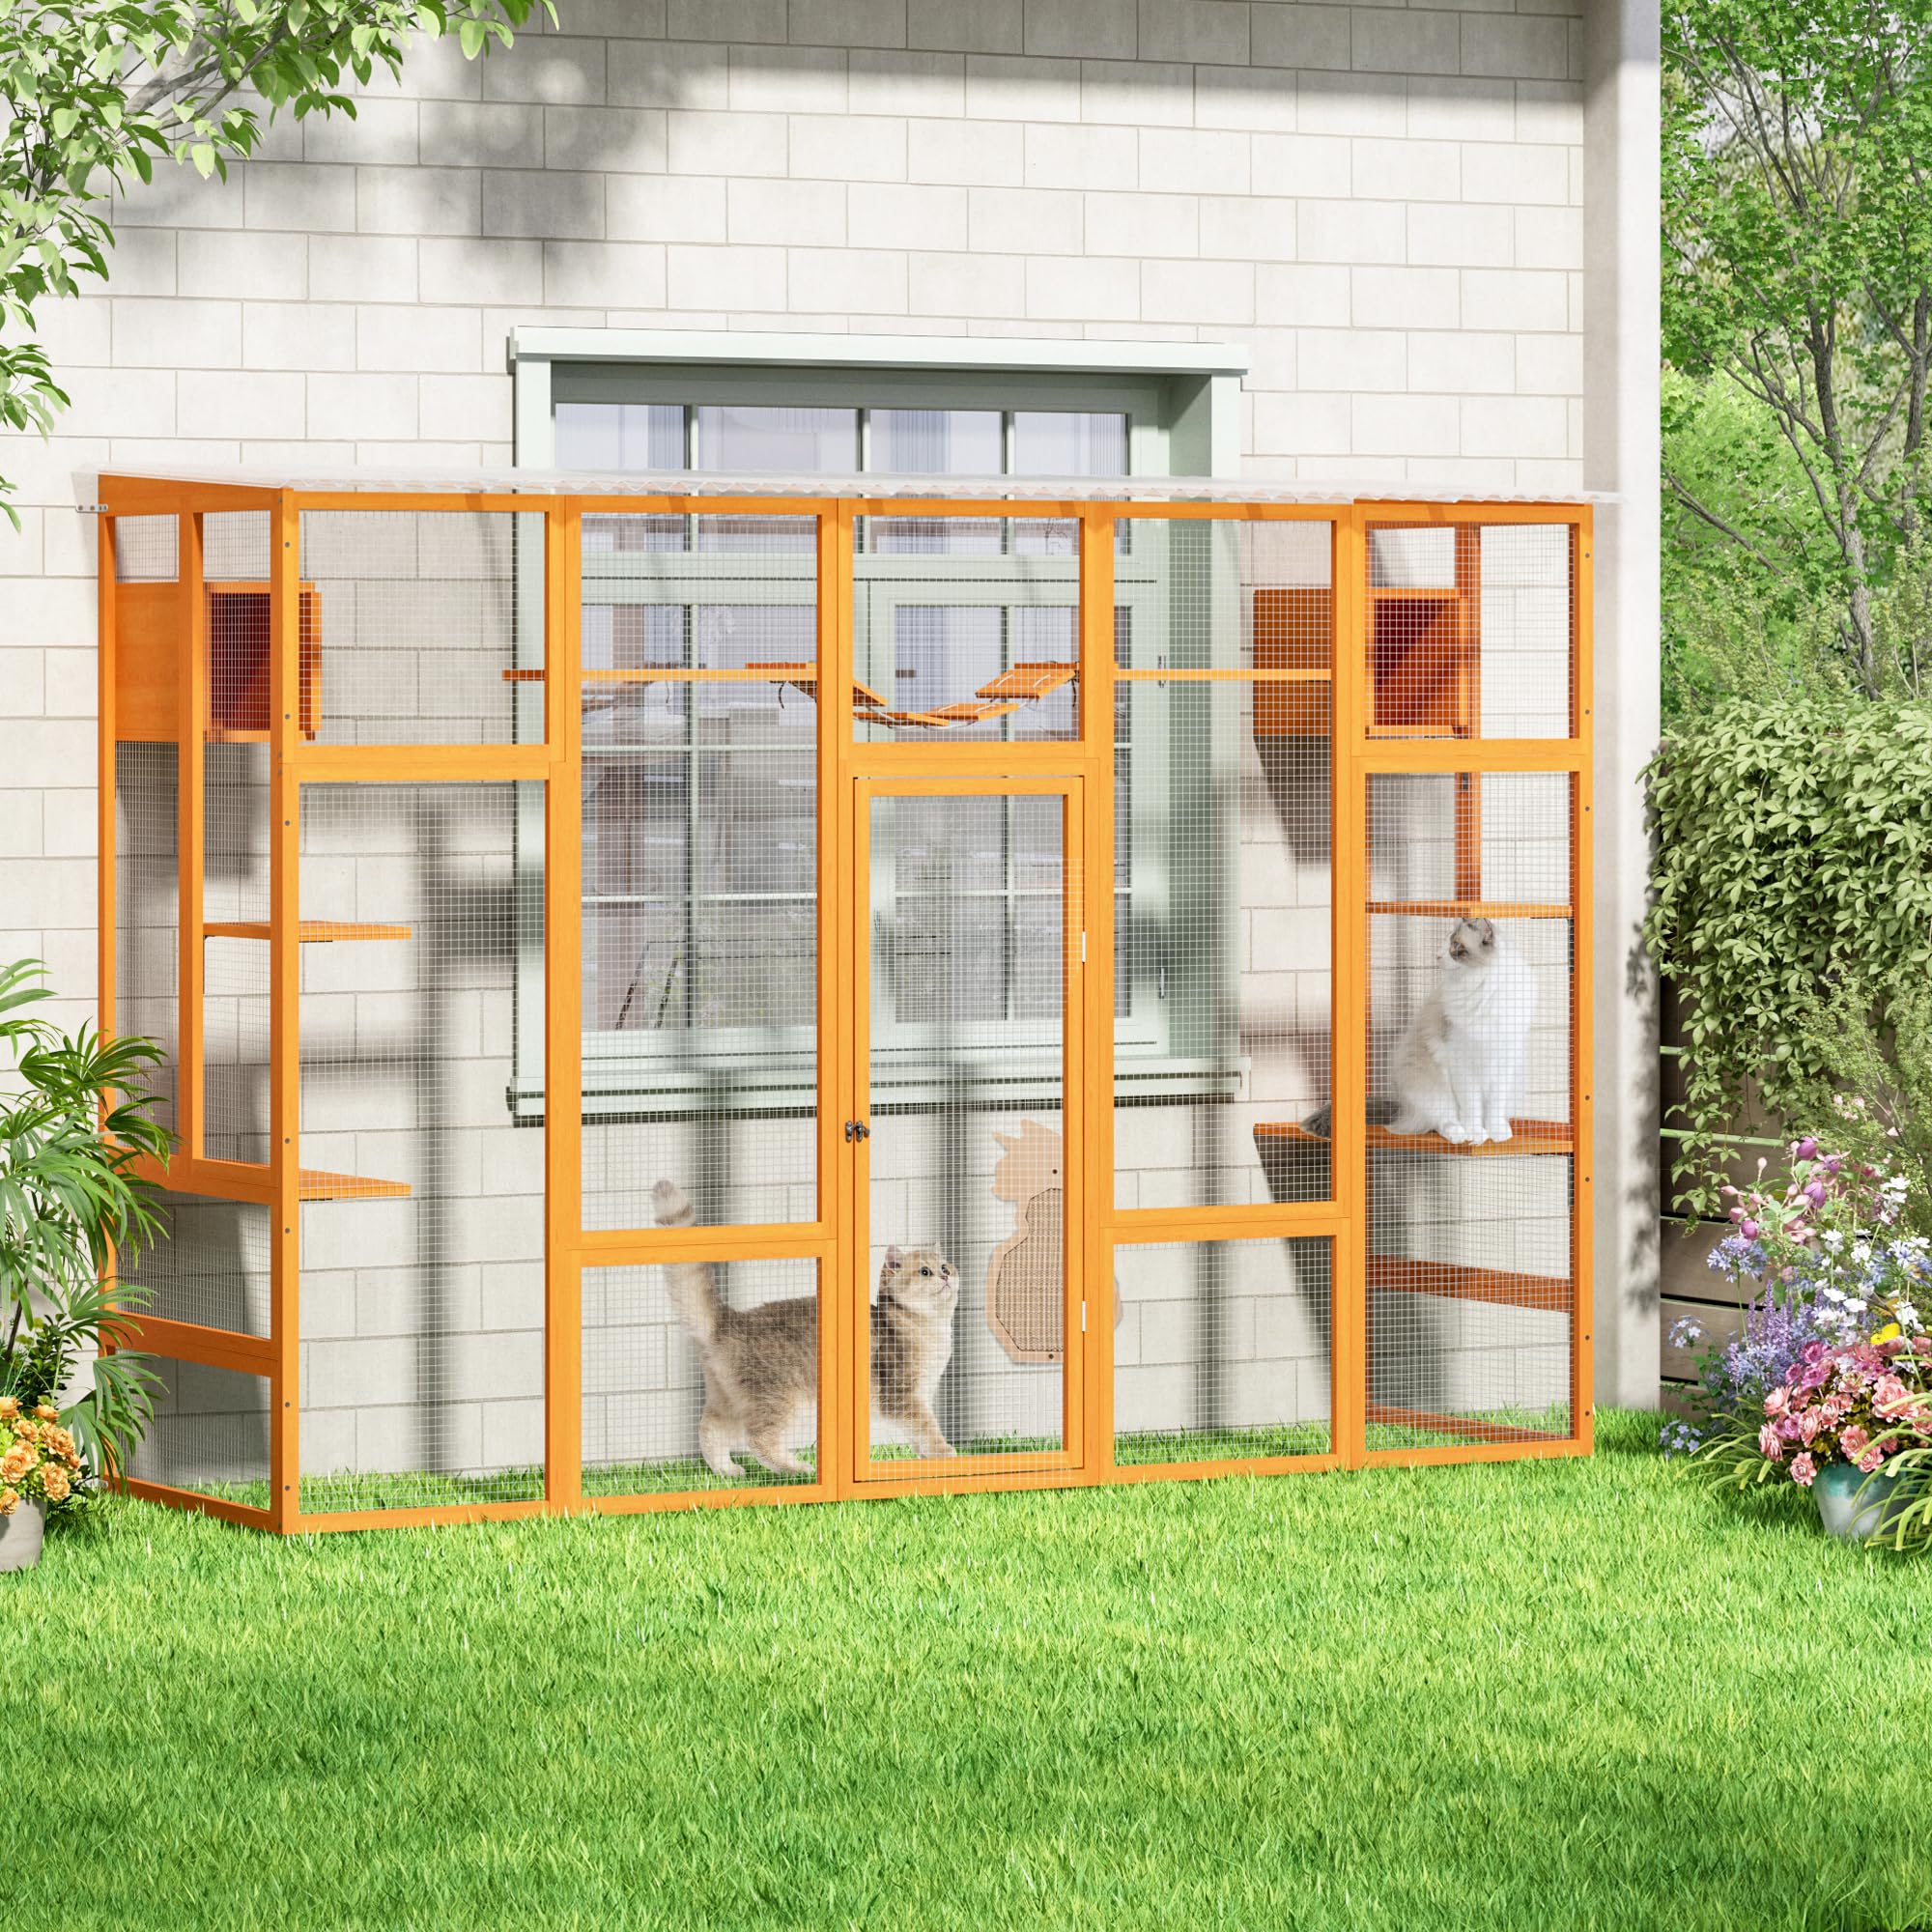
Building the doors. I made simple wooden frame doors for each pen, covered in chicken wire just like the rest. Attached them with hinges and added latches to keep the cats secure inside. Made sure the latches were cat-proof – those little guys are clever!
Roofing it. I wanted to provide some shade and protection from the rain, so I added roofs to the pens. Used some more lumber to create a simple frame and then covered it with corrugated plastic roofing sheets. Screwed those down tight.
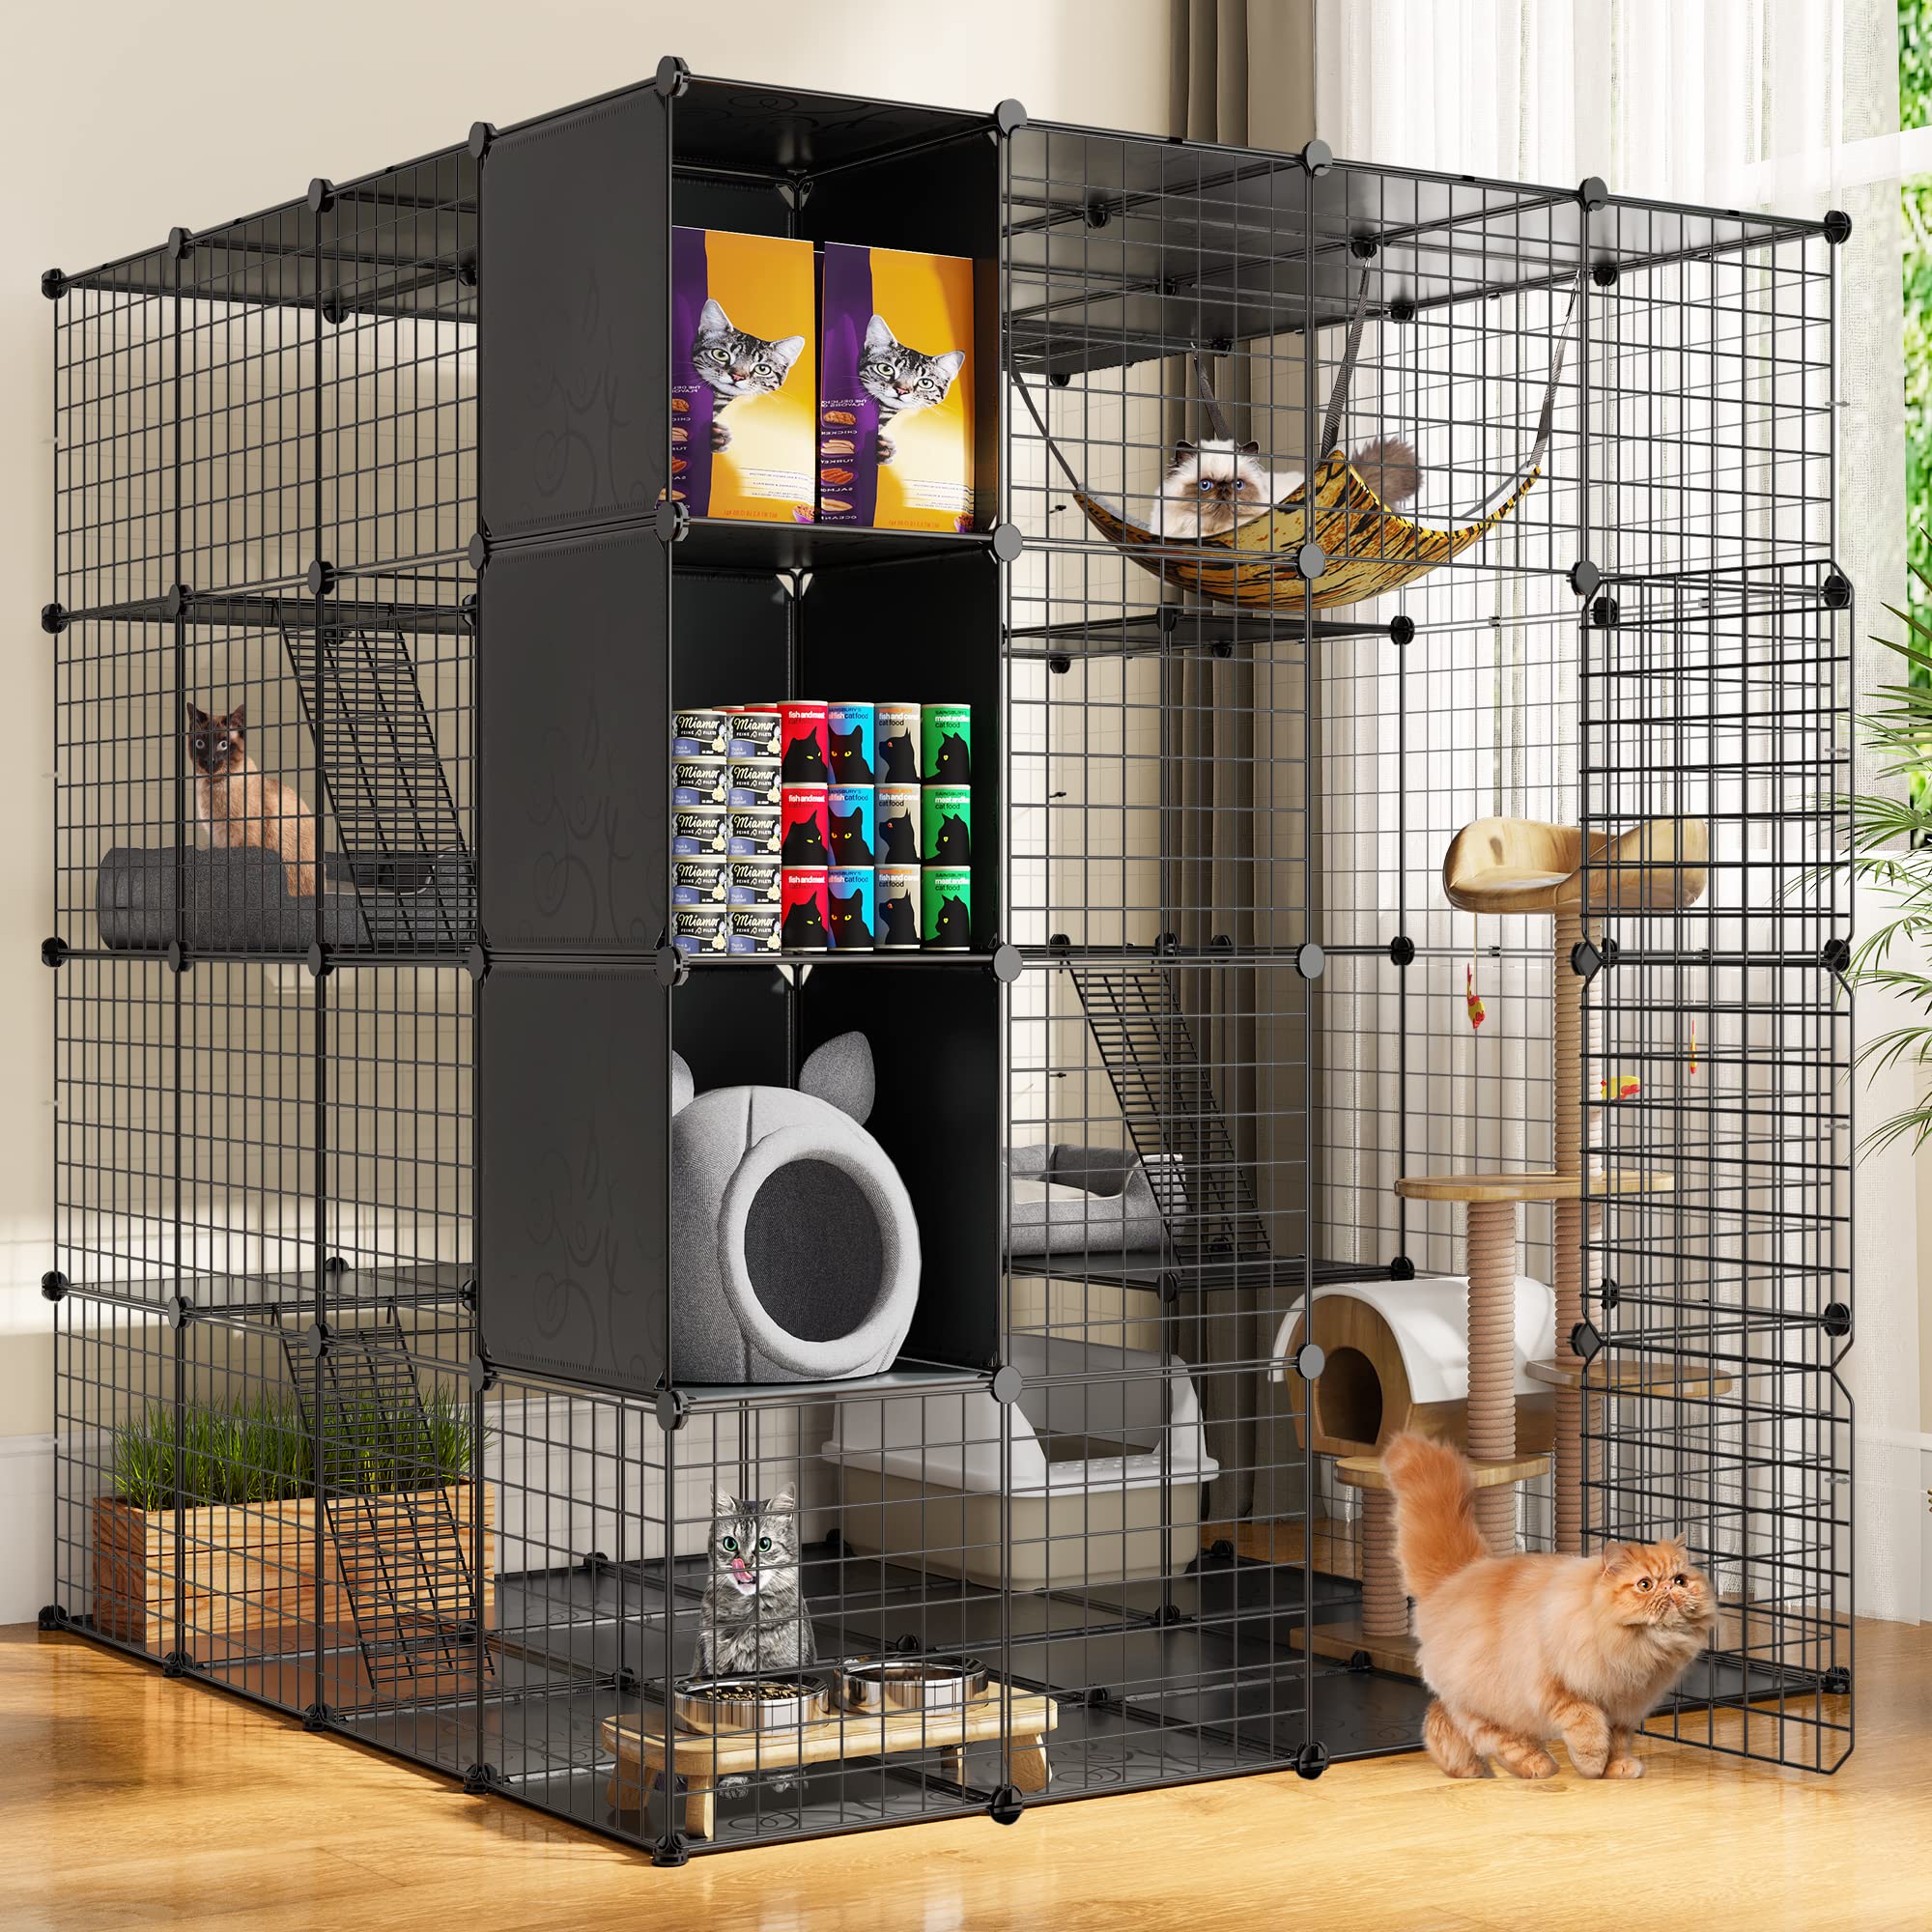
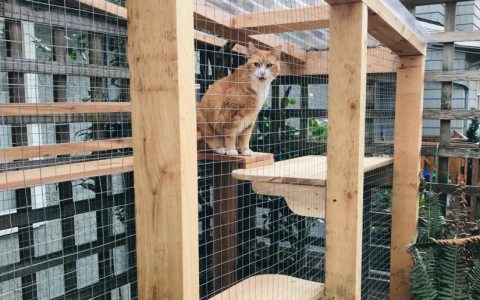
Adding the finishing touches. Once the basic structure was done, I added some little extras. Put in some wooden shelves for the cats to climb on, scratching posts, and comfy beds. Also, food and water bowls, of course.
The big reveal! Finally, it was time to introduce the cats to their new digs. They were a little hesitant at first, but they soon started exploring and seemed to love it. Success!
Lessons learned? Measure twice, cut once is definitely true. Also, wear gloves when working with chicken wire – it’ll save your hands. And don’t underestimate how much time this kind of project can take. But seeing those cats enjoying their new outdoor space? Totally worth it.


