


Okay, folks, let’s dive into my little weekend project: building a dog house for my Labrador Retriever.
First, I brainstormed. I needed something sturdy, weatherproof, and, of course, big enough for my furry friend to stretch out comfortably. I’m no carpenter, so I kept the design pretty basic – a simple box shape with a slanted roof.
Getting Started
I gathered my materials. I opted for some pressure-treated lumber since it would be outdoors. I grabbed some screws, nails, a saw, a drill, and a hammer. Safety first, I put on my safety glasses and gloves. My garage became my workshop.
- Pressure-treated lumber
- Screws and nails
- Saw and drill
- Hammer
- Safety Glasses
The Build
I started by cutting the wood for the base. I wanted a solid foundation. I measured everything twice (measure twice, cut once, right?) and then made my cuts. Then, I screwed the base pieces together. It wasn’t perfectly square, but it was close enough!
Next, I worked on the walls. I cut the pieces, making sure to account for the door opening. I then nailed and screwed the walls to the base, one by one. I may have hit my thumb a couple of times, but hey, that’s part of the process.
The roof was a bit tricky. I wanted that slanted look to keep the rain off. I cut the roof panels and attached them, leaving a slight overhang to protect the front of the house. I’ll be honest, the angles weren’t perfect, but it looked pretty good from a distance.
Finishing Touches
Almost done! I checked for any sharp edges or splinters and sanded them down. I didn’t want my pup getting hurt. I am planning to give the wood a good coat of weatherproof sealant.
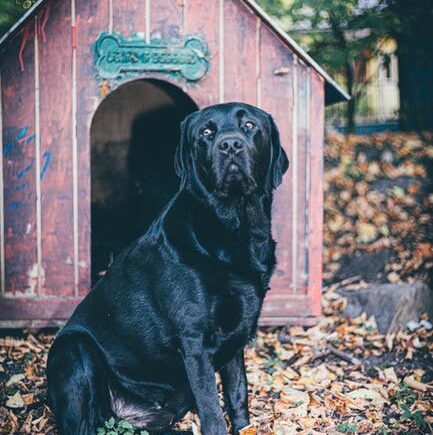
Finally, I placed the dog house in its new spot in the yard. My Labrador, Buddy, cautiously sniffed it, then slowly walked inside. Success! He seemed to approve, and that’s all that matters. It’s not perfect, but it’s handmade with love, and Buddy has a new cozy spot to call his own.


