

Okay, so I wanted to make a rope collar for my dog, Max. He’s a big, goofy golden retriever, and sometimes those regular collars just don’t cut it when he gets excited on walks.
First, I gathered my stuff. I needed:
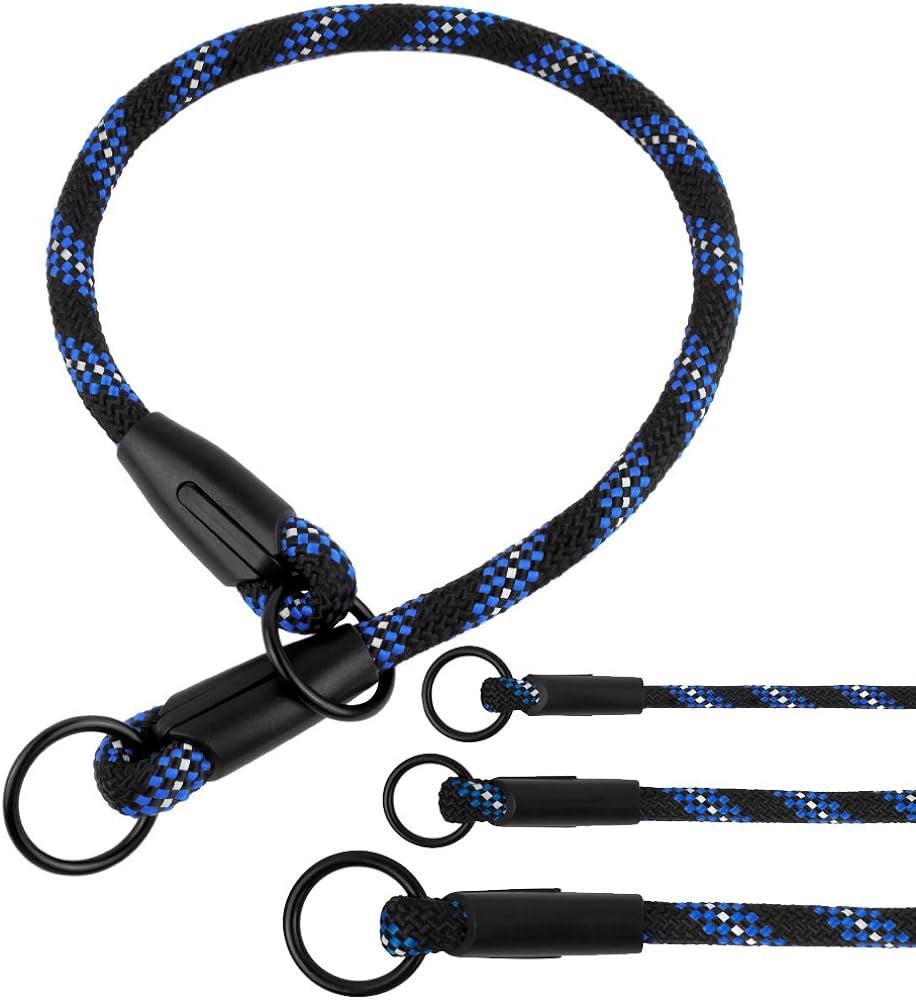
- Some strong rope – I used about 10 feet of paracord, but you can use whatever sturdy rope you have.
- Scissors. Make sure that is sharp enough.
- A * melt and seal the ends of the rope.
- A measuring tape. To measure Max’s neck.
I measured Max’s neck. It came out to about 18 inches. You’ll want to add a few extra inches to that for knotting and wiggle room. I add about 4 inches,total 22 inches.
Making the Collar
I started by finding the middle of the rope. Just fold it in half, and that’s your center point. Then, I made a simple overhand knot, leaving a loop at the top. This loop is where you’ll clip the leash.
Next, I took the two ends of the rope and made another overhand knot, but this time, I went around Max’s neck measurement (plus those extra inches). This made the main part of the collar.
To secure it, I tied a few more knots close to the first one, making sure everything was nice and tight. You can get fancy with the knots here, but I just stuck with simple overhand ones. They get the job done.
Once I was happy with the knots, I trimmed the extra rope, leaving about an inch or two. Then, I carefully used the lighter to melt the ends. This prevents the rope from fraying. Be super careful with the lighter, though! You don’t want to burn yourself or the rope too much.
And that’s it! I slipped the collar over Max’s head, and it fit perfectly. He seems pretty comfy in it, and I feel better knowing I have a bit more control when he gets those zoomies in the park.
It was a pretty easy project, and it saved me from buying a new collar. Plus, it’s kinda cool to say I made it myself. If you’re looking for a simple DIY project, give it a try!


