

Okay, here’s my blog post about the RFID pet feeder project, written in a casual, conversational style, just like the example:
So, I’ve been messing around with this whole “smart home” thing, and my cat, Mr. Fluffernutter, is a creature of habit (and a bit of a porker). He needs his food at EXACTLY the same time every day, or he starts yelling at me. I figured, why not automate this? That’s where the whole RFID pet feeder idea came in.
First, I grabbed an old plastic food container, the kind you get takeout in. Nothing fancy, just needed something to hold the kibble. Then, I ordered one of those cheap, gravity-fed pet feeders online. You know, the ones where the food just slides down as the bowl empties? Perfect for this.
The Brains of the Operation
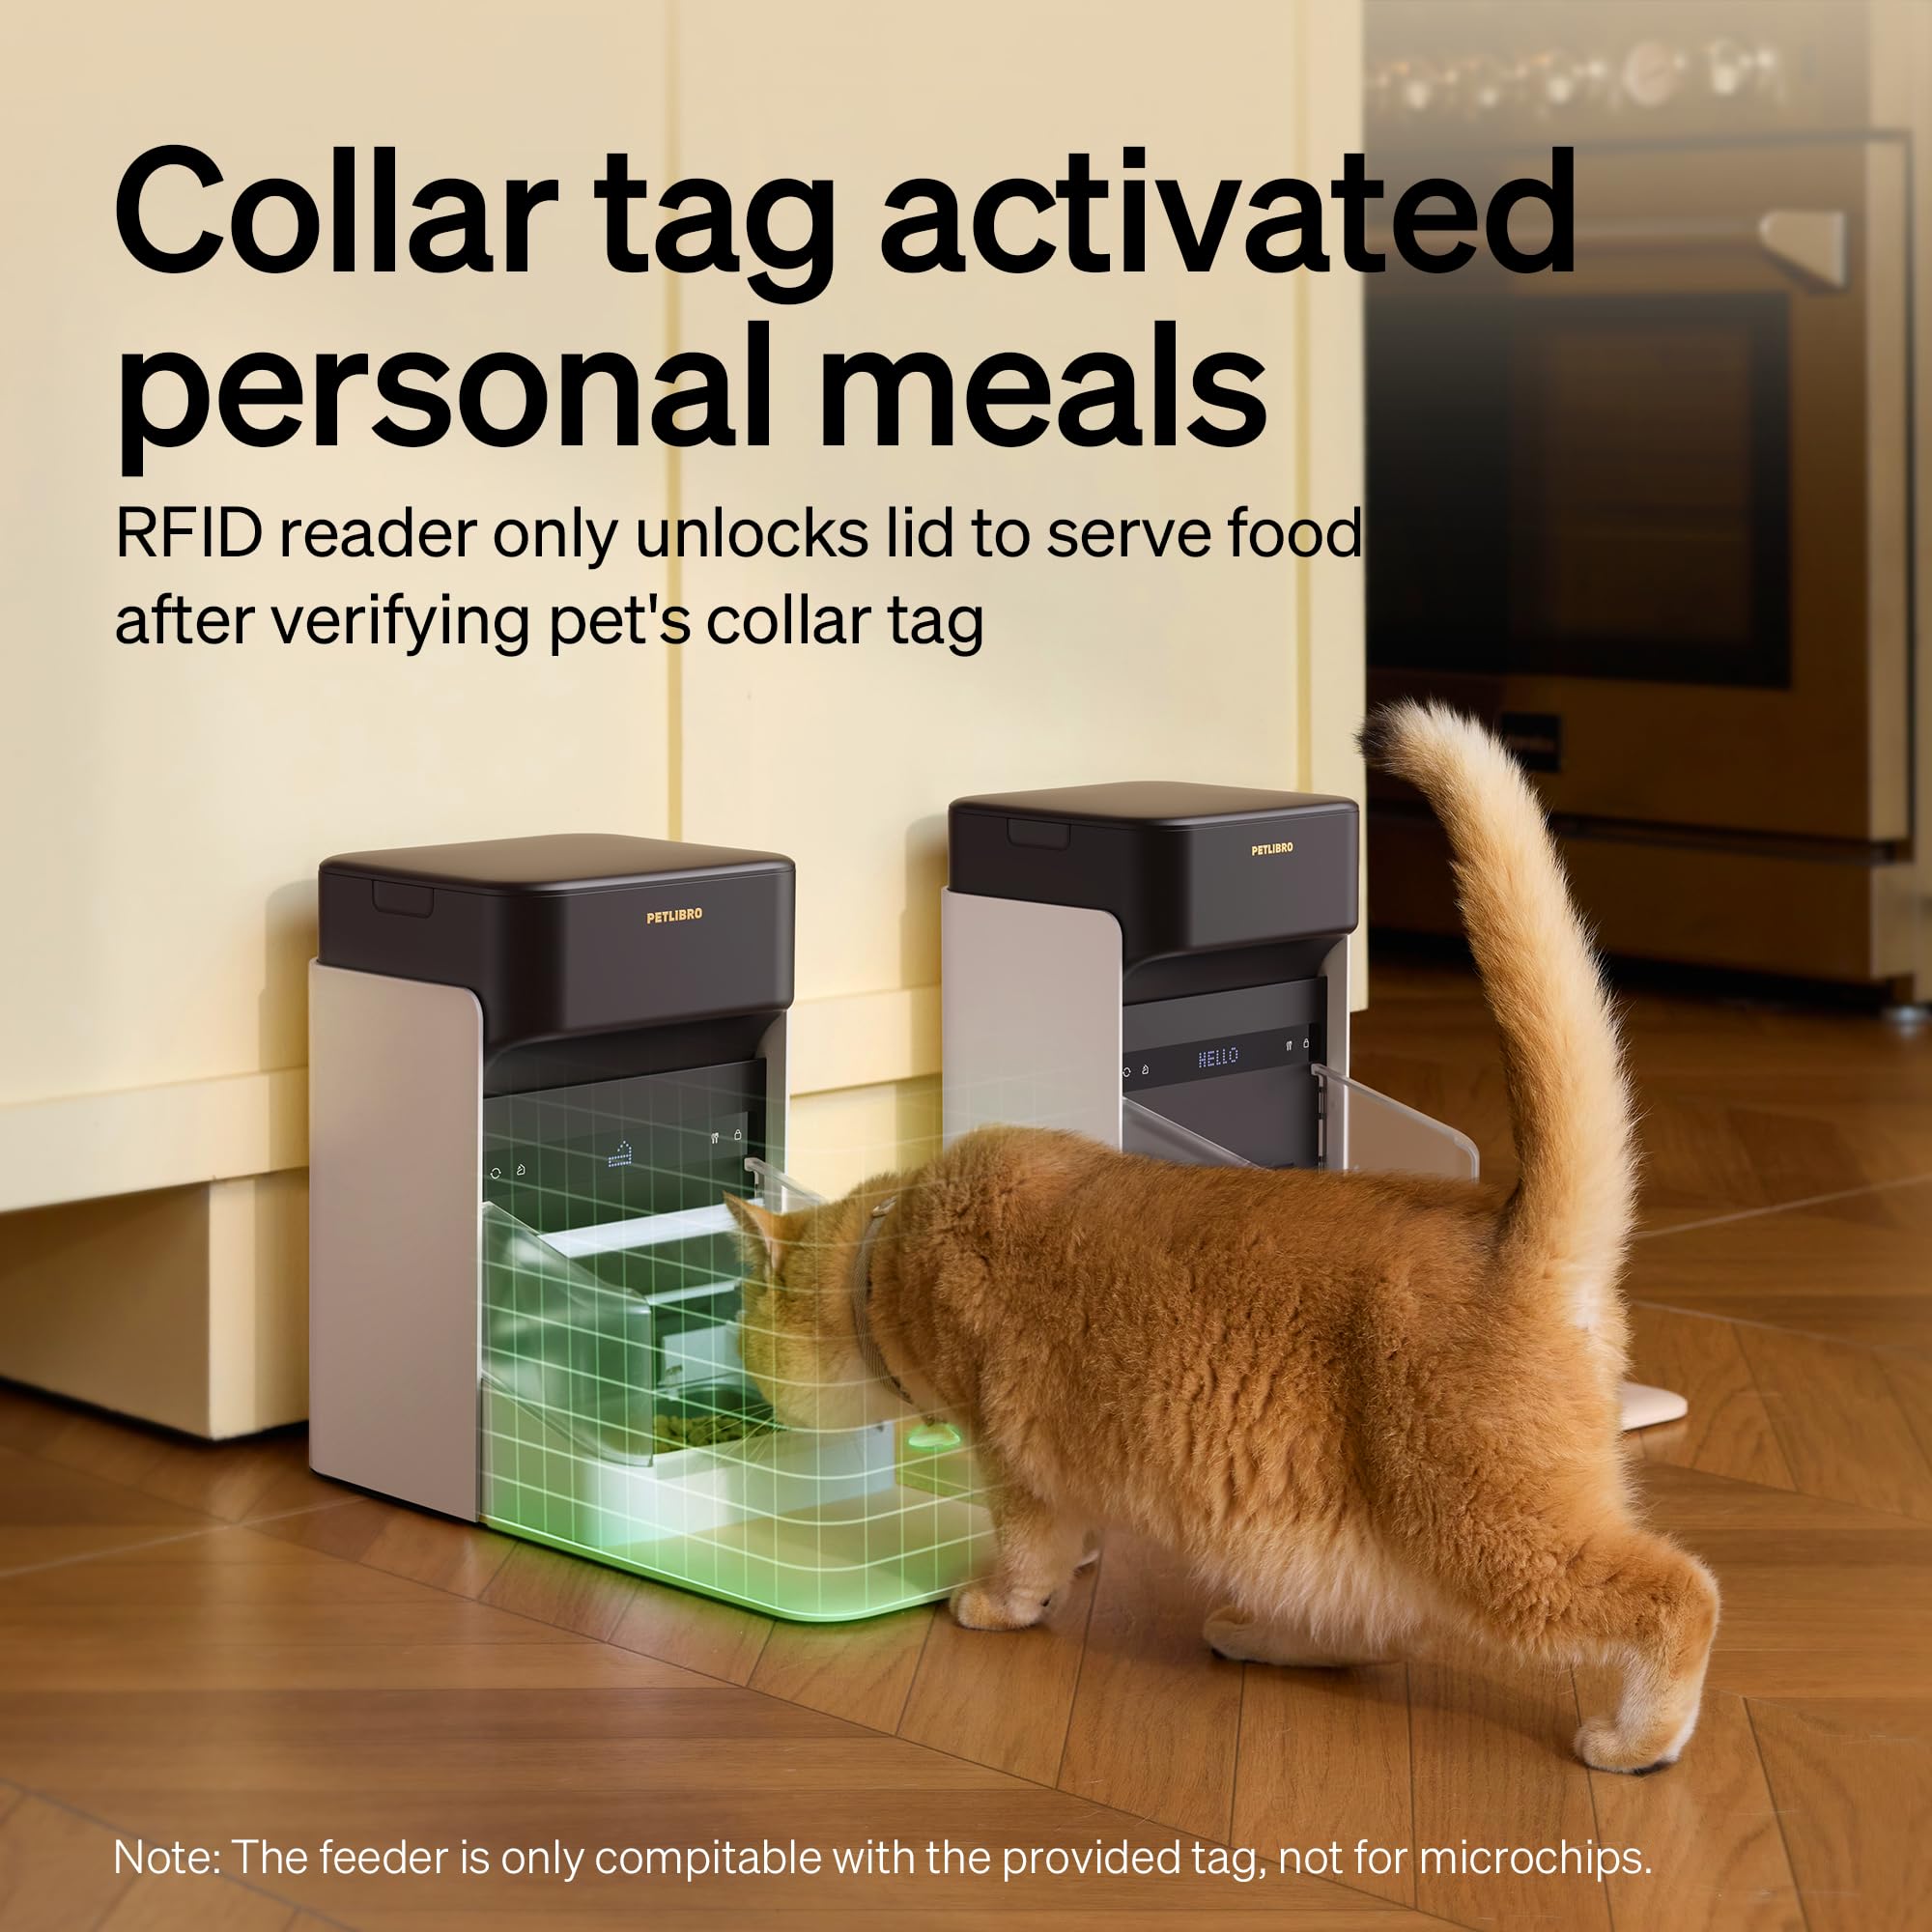
The real magic comes from the RFID reader and tags. I picked up an RC522 RFID reader module – super common, easy to find, and there are tons of tutorials online. I also got some RFID tags, the little sticker kind. I stuck one of these tags onto Mr. Fluffernutter’s collar. He wasn’t thrilled, but he got over it after a few treats.
Next up, the microcontroller. I went with an ESP32. It’s got built-in Wi-Fi, which is great for future upgrades (maybe a web interface to control the feeder? Ooh, fancy!). I could have used an Arduino, but the ESP32 seemed like more fun.
Wiring It All Up
Wiring was… well, let’s just say it involved a lot of colorful wires and a breadboard that looked like a spider’s nest. I’m not gonna lie, I followed some online tutorials pretty closely here. I’m no electrical engineer! Basically, I connected the RFID reader to the ESP32, making sure to match up the right pins (SPI interface, if you’re curious).
The rfid reader module connect esp32:
- SDA – GPIO21
- SCK – GPIO18
- MOSI – GPIO23
- MISO – GPIO19
- GND – GND
- RST – GPIO22
- 3.3V – 3.3V
Then, I needed a way to actually dispense the food. For this, I used a servo motor. These little guys are great for controlling movement. I rigged up a simple mechanism where the servo would rotate a small paddle inside the feeder, pushing out a measured amount of kibble when it turned.
The Code
The code was the trickiest part, but also the most rewarding. I used the Arduino IDE to program the ESP32. It’s pretty user-friendly, even for a coding newbie like me. I’m not shareing it, because it’s so ugly.
The basic logic is this:
- The RFID reader constantly scans for tags.
- When it detects Mr. Fluffernutter’s tag, it sends a signal to the ESP32.
- The ESP32 checks the time (using an internal clock).
- If it’s feeding time, the ESP32 activates the servo motor.
- The servo rotates, dispensing the food.
- Profit! (Or, you know, a fed cat.)
Putting It All Together
I hacked together the gravity feeder and the plastic container, making a hole for the servo-controlled paddle. It’s not pretty, but it works! I mounted the ESP32 and RFID reader on the side, keeping the electronics away from the food (and Mr. Fluffernutter’s curious paws).
I powered the whole thing with a USB power supply. I could probably use a battery, but for now, it’s plugged into the wall.
The Result
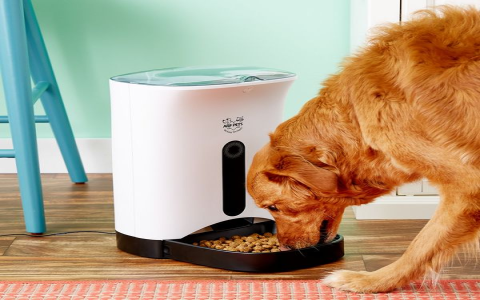
It actually works! Mr. Fluffernutter walks up to the feeder, the RFID reader recognizes his tag, and whirr, the servo spins, and kibble appears. He’s a happy cat, and I’m a happy human. My cat won’t yell at me, because the feeder is auto.
It’s not perfect, of course. Sometimes the kibble gets stuck, and I have to give it a little shake. And the whole thing looks a bit… homemade. But hey, it’s a prototype! I’m already thinking about improvements. Maybe a sensor to detect when the bowl is empty? Or a way to track how much he’s eating? The possibilities are endless!


