

Okay, so I’ve been meaning to make some new toys for my pup, and I figured, why not try making some rope toys? They seem pretty straightforward, and my dog loves a good chew session. Plus, I had a bunch of old t-shirts lying around that were just begging to be repurposed.
First things first, I gathered my materials. I grabbed those old t-shirts, a pair of scissors, and that’s pretty much it. I made sure the shirts were clean, though. I picked a few different colors, thinking it would make the toys more fun. Then, I laid out the shirts and started cutting them into strips. I aimed for strips that were about 2-3 inches wide and as long as possible. Some of the shirts were a bit short, but I figured it would all work out in the end. That was some good arm exercise.
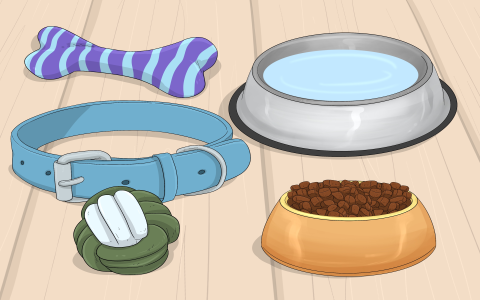
- Gather old t-shirts
- Grab scissors
- Pick different colors
- Lay out the shirts
- Cut shirts into strips
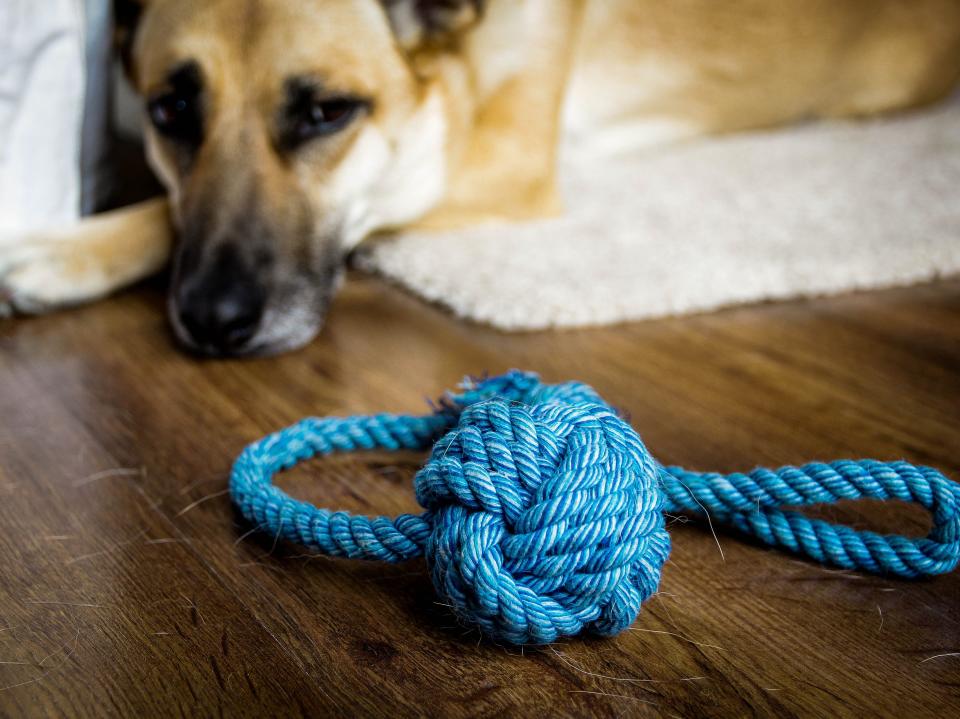
Once I had a decent pile of strips, I grabbed three of them and tied a knot at one end. I made sure the knot was super tight, so it wouldn’t come undone during playtime. Next, I started braiding the strips together. It’s just like braiding hair, if you’ve ever done that. I kept the braid as tight as I could, pulling the strips taut as I went along.
When I got near the end of the strips, I tied another tight knot. And there you have it, a simple rope toy! But I didn’t stop there. I wanted to make a few different kinds. For one of them, I braided six strips together instead of three, which made a thicker, sturdier rope. For another, I tied a bunch of knots along the length of the rope, creating little bumps for my dog to gnaw on.
My Dog’s Reaction
I tossed the finished toys to my dog, and she went nuts! She grabbed one and started shaking it around, then settled down for a good chew. It’s been a few days now, and the toys are holding up pretty well. Of course, she’s a tough chewer, so they might not last forever, but that’s okay. I can always make more! Some people might say making your dog toys is not safe. I think as long as you supervise the playing, it will be all right.
Overall, I’m pretty happy with how these DIY dog toy ropes turned out. It was a fun little project, and it saved me some money on buying new toys. Plus, it’s always nice to know that you’re giving your furry friend something you made yourself. If you’ve got some old t-shirts and a bit of time, I definitely recommend giving it a try!


